
BLUSH Estética · Central Málaga
Microblading before and after: real microblading eyebrows through the healing process
Photos of our clients straight out of the treatment room and once healed, so you can see the transformation hair strokes bring and set realistic expectations at each stage, from the first session to the touch-up.
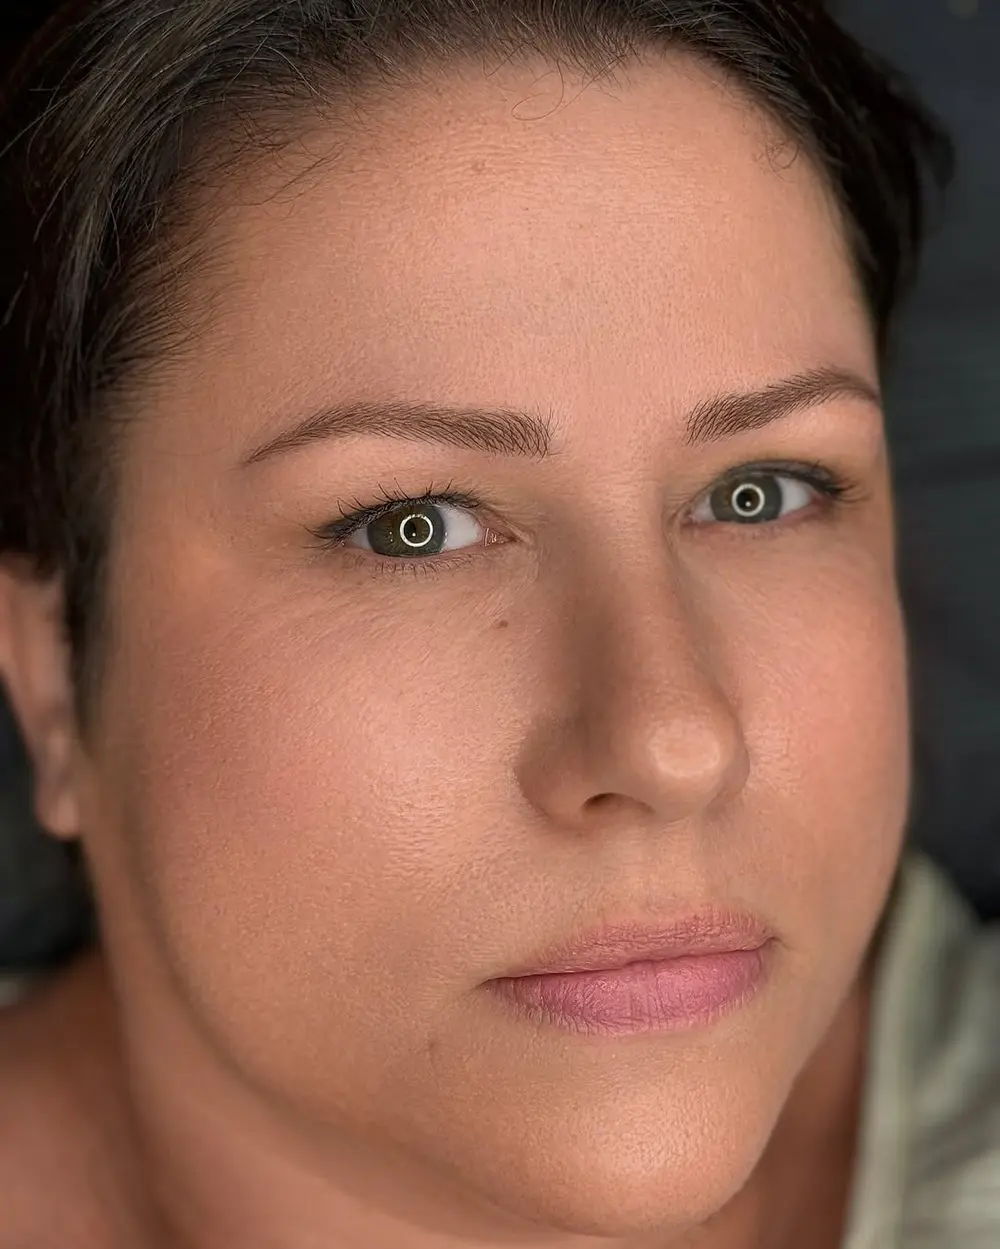
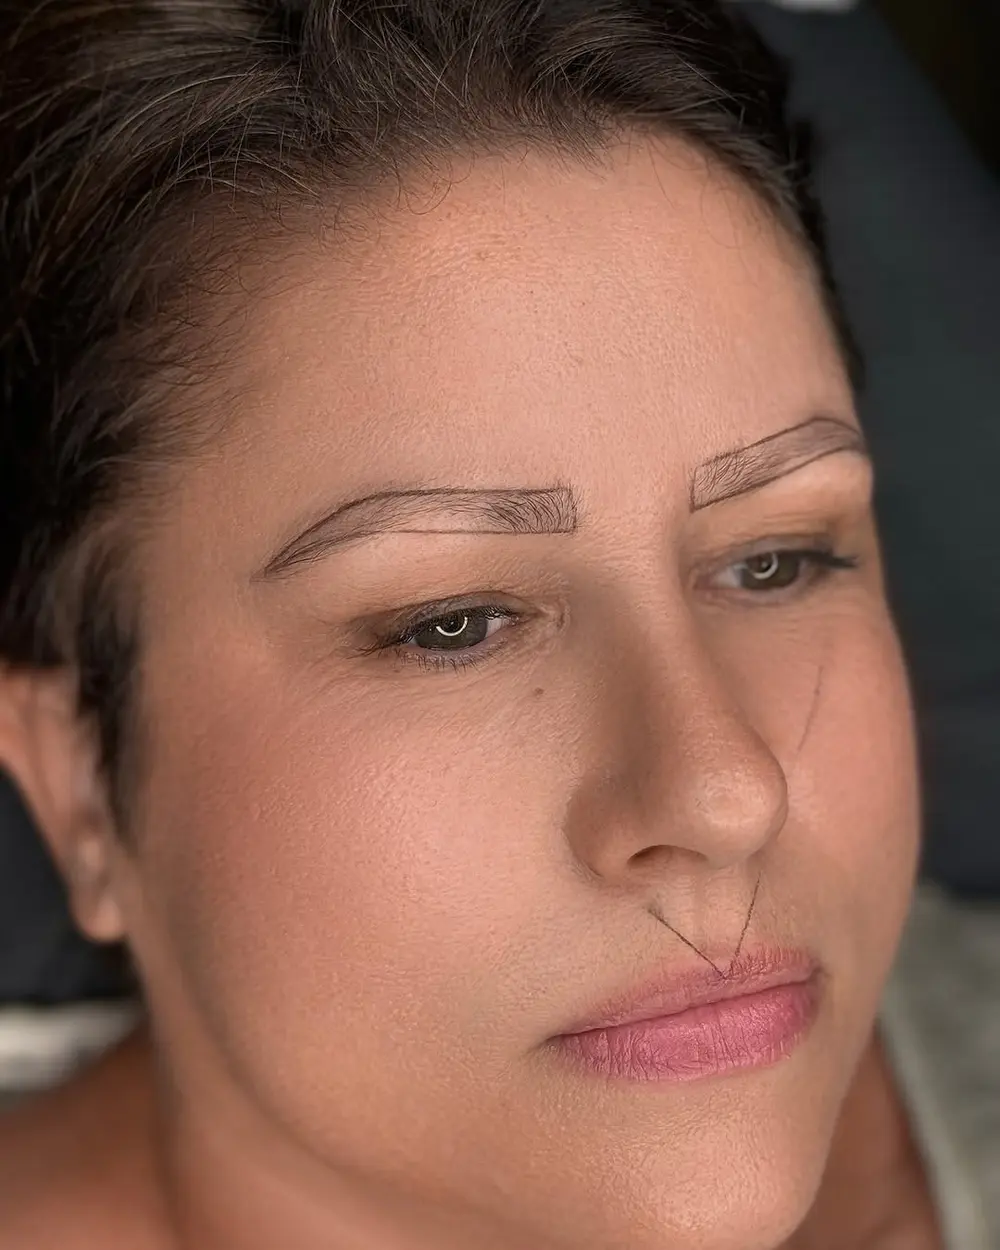
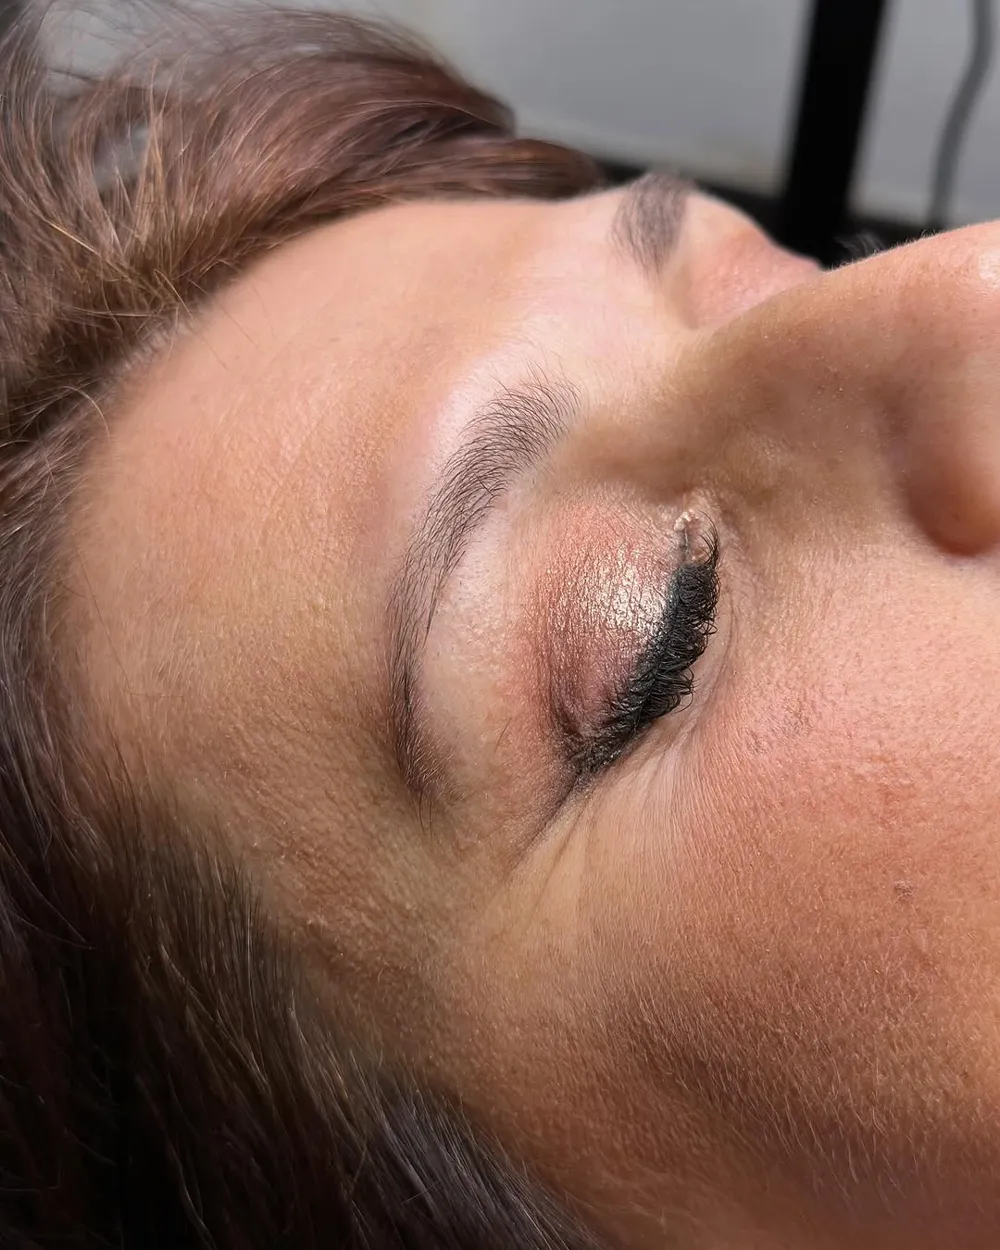
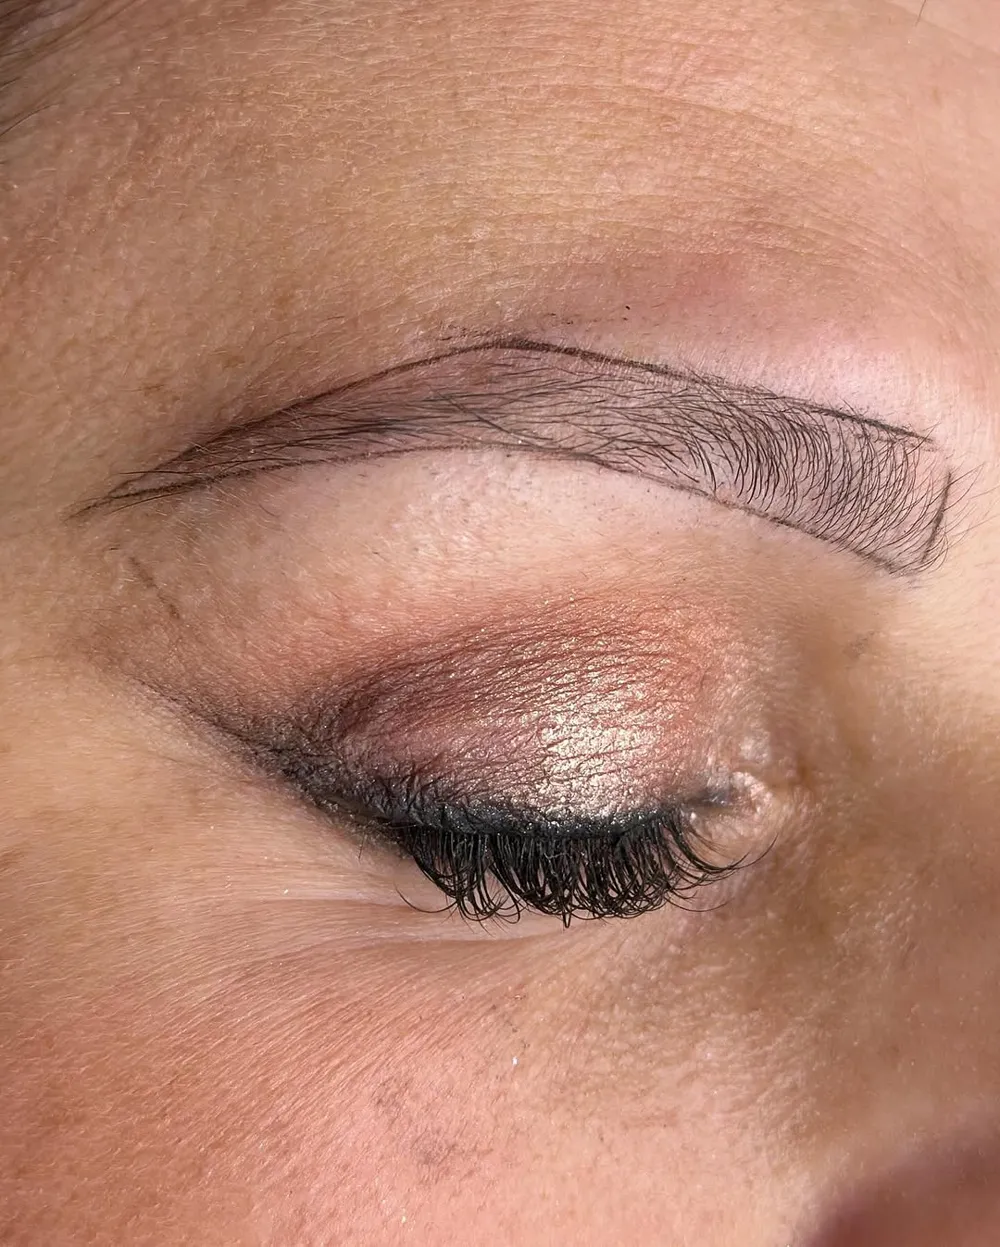
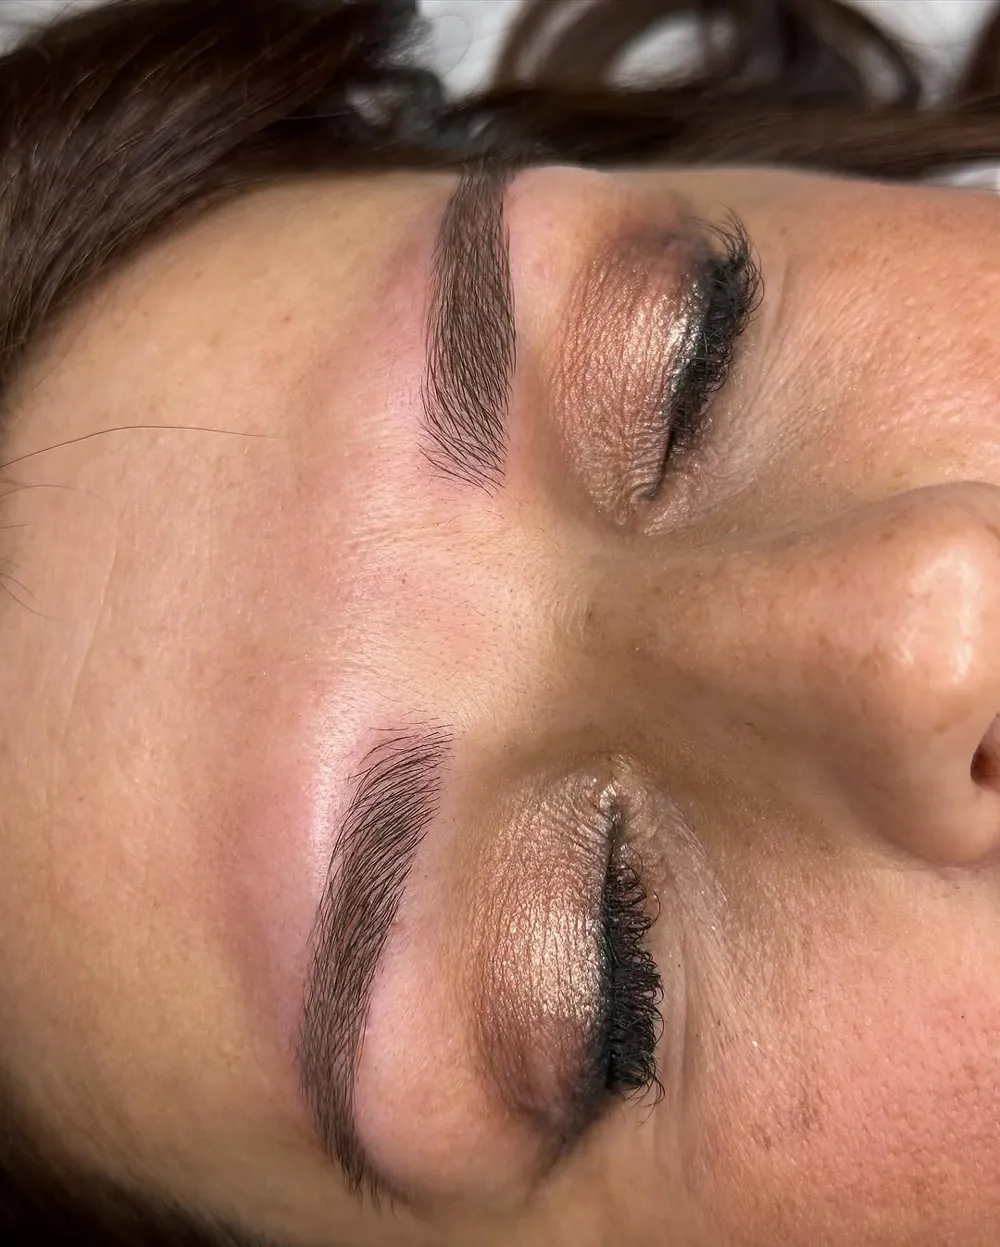
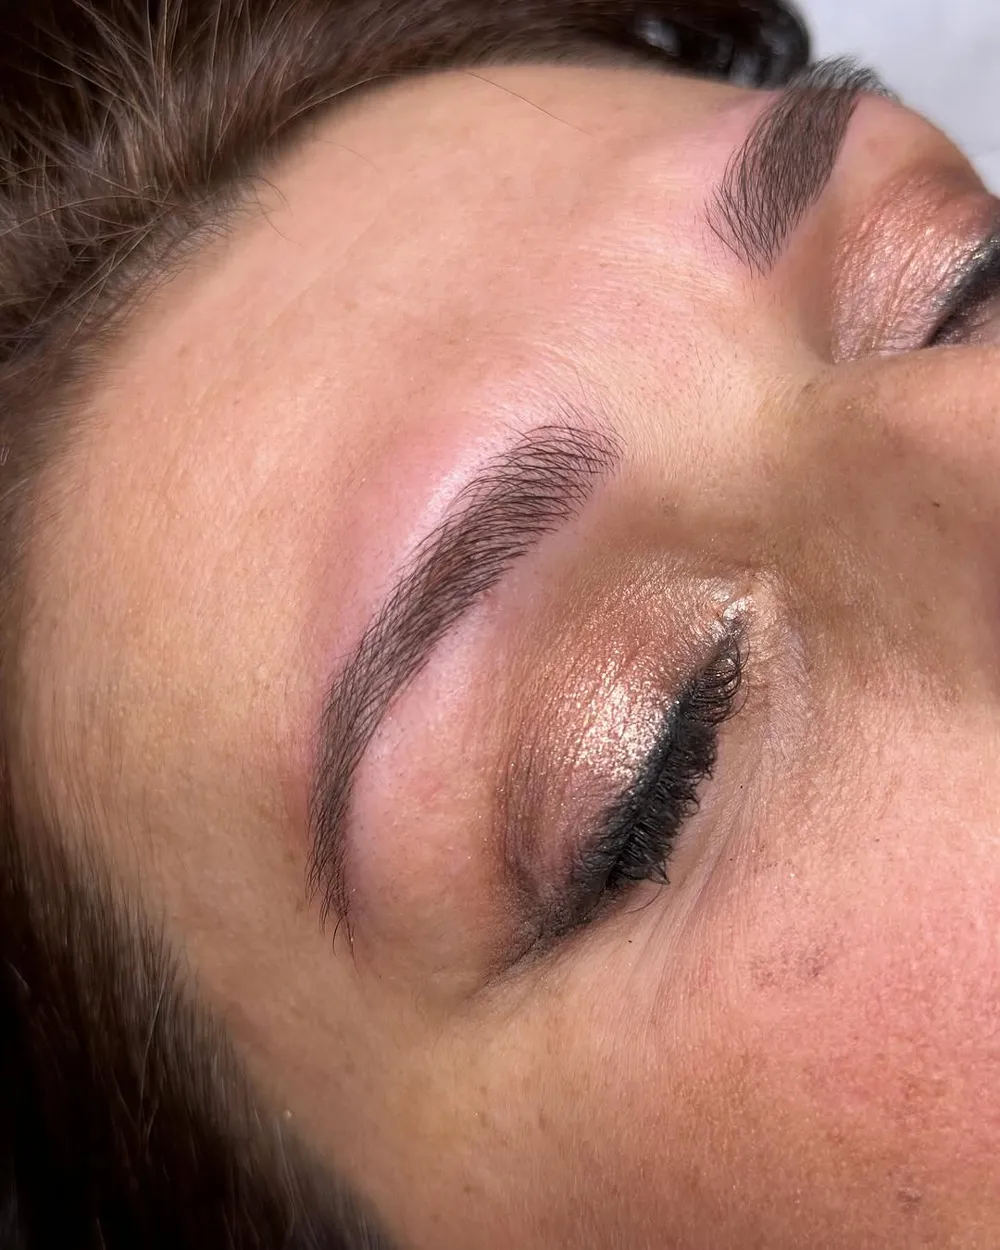
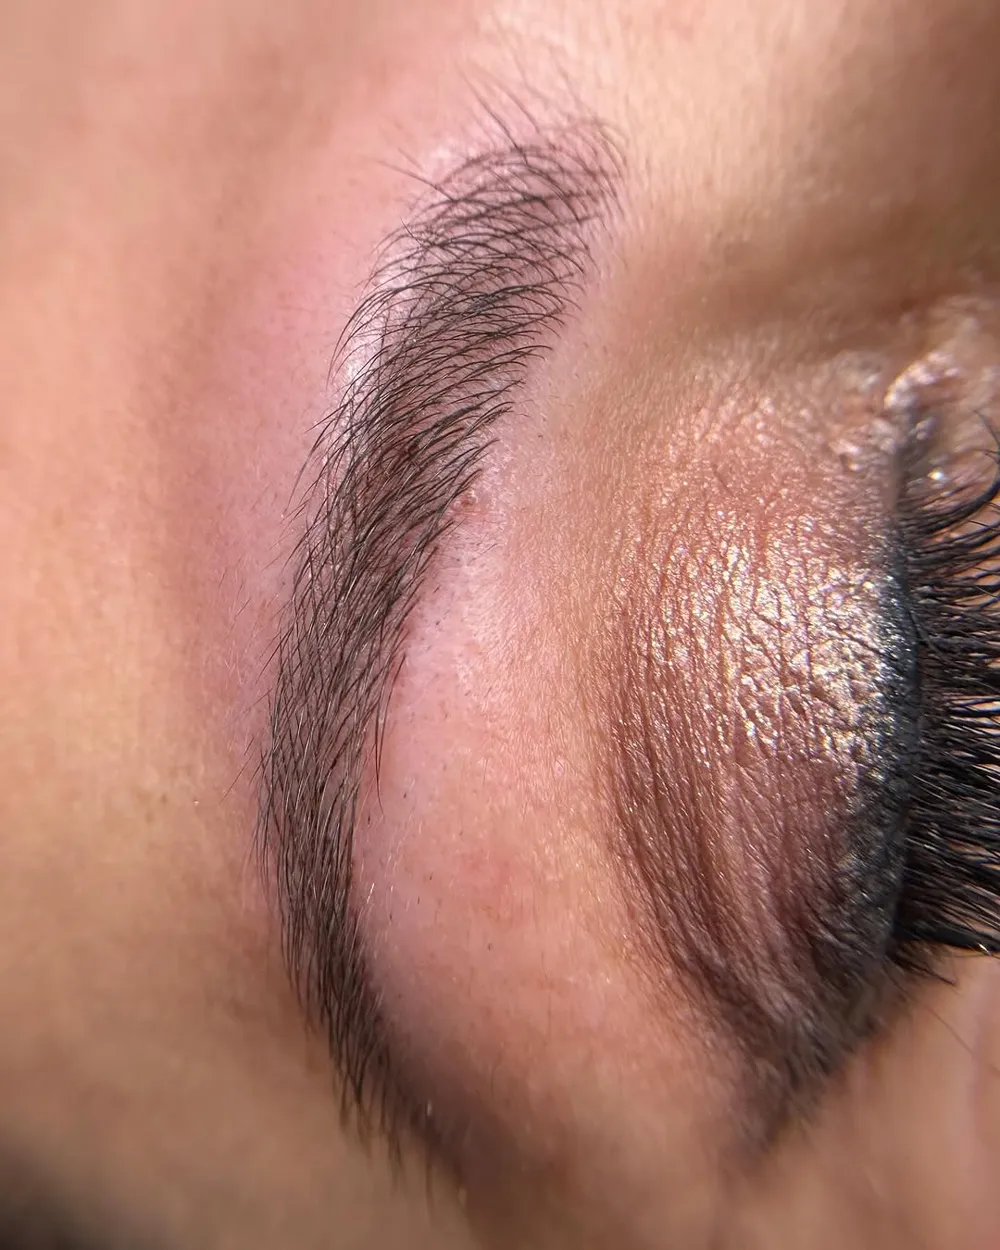
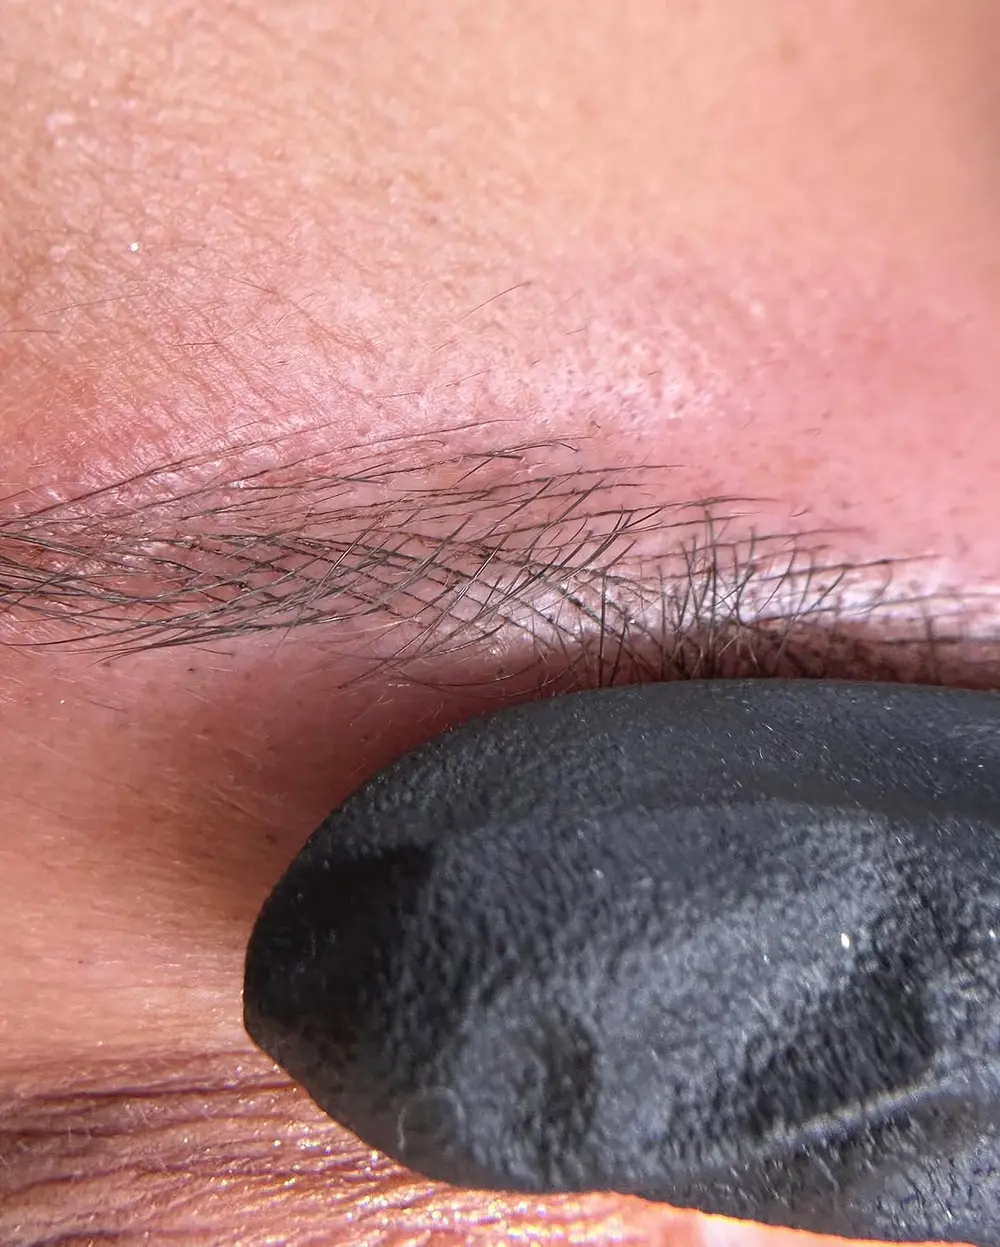
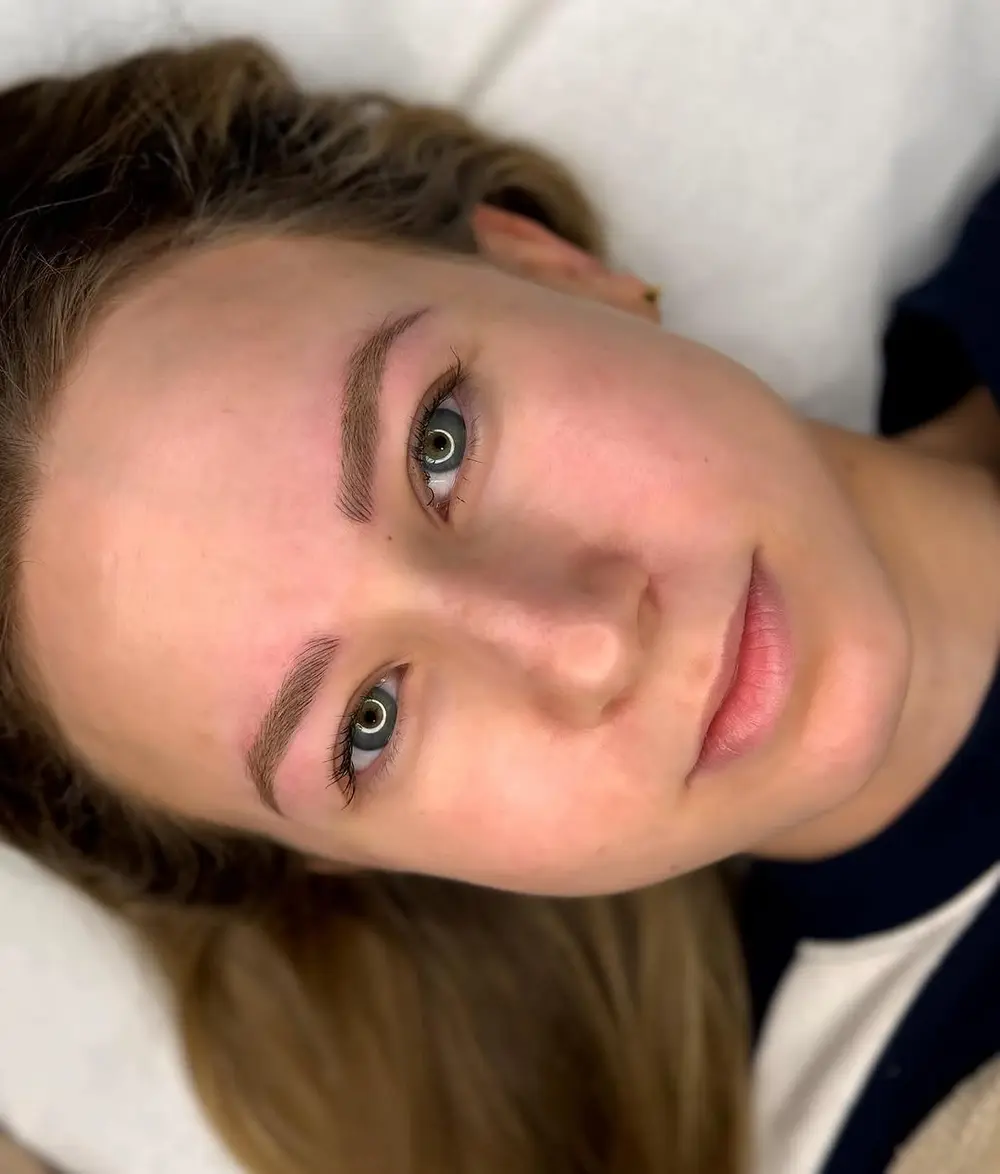
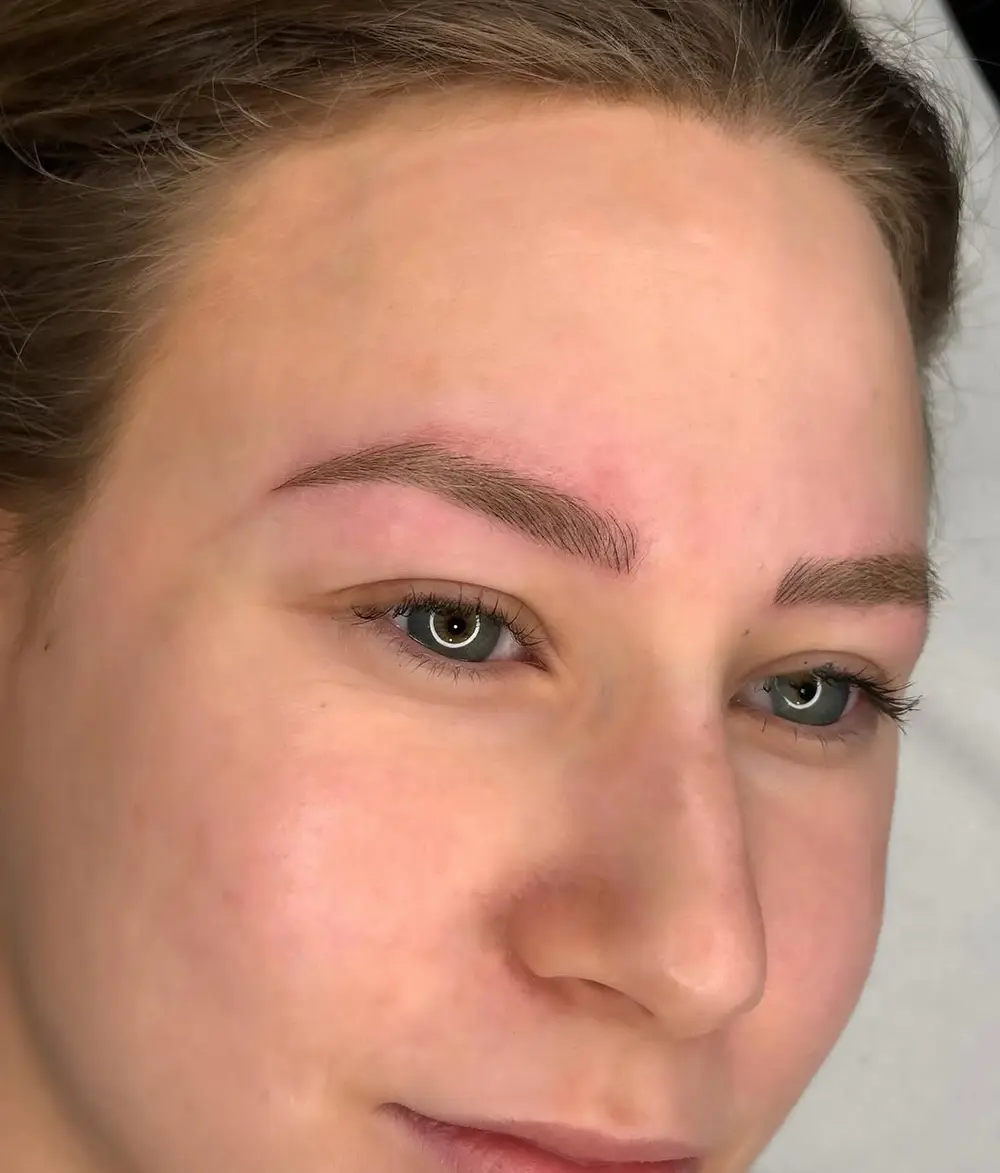
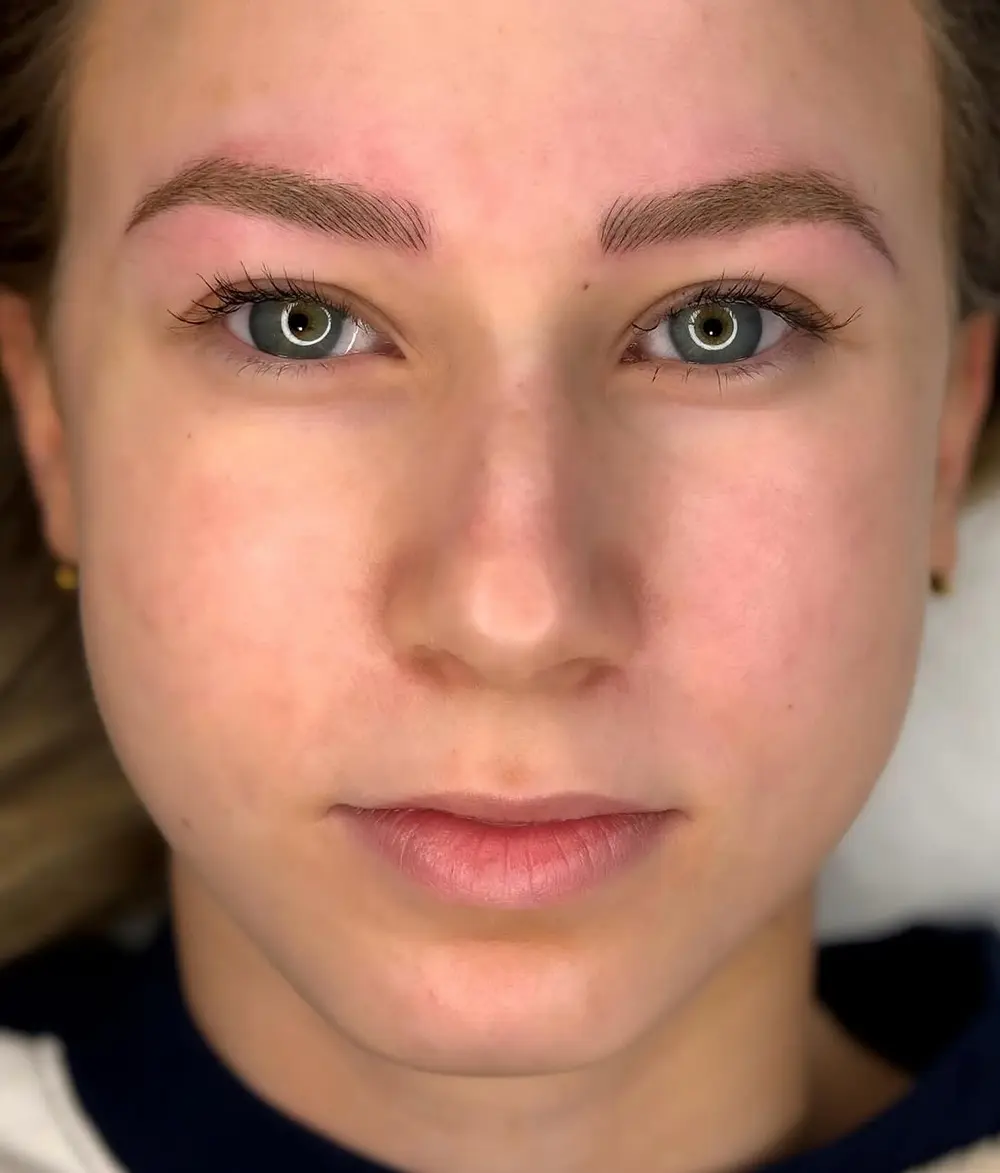
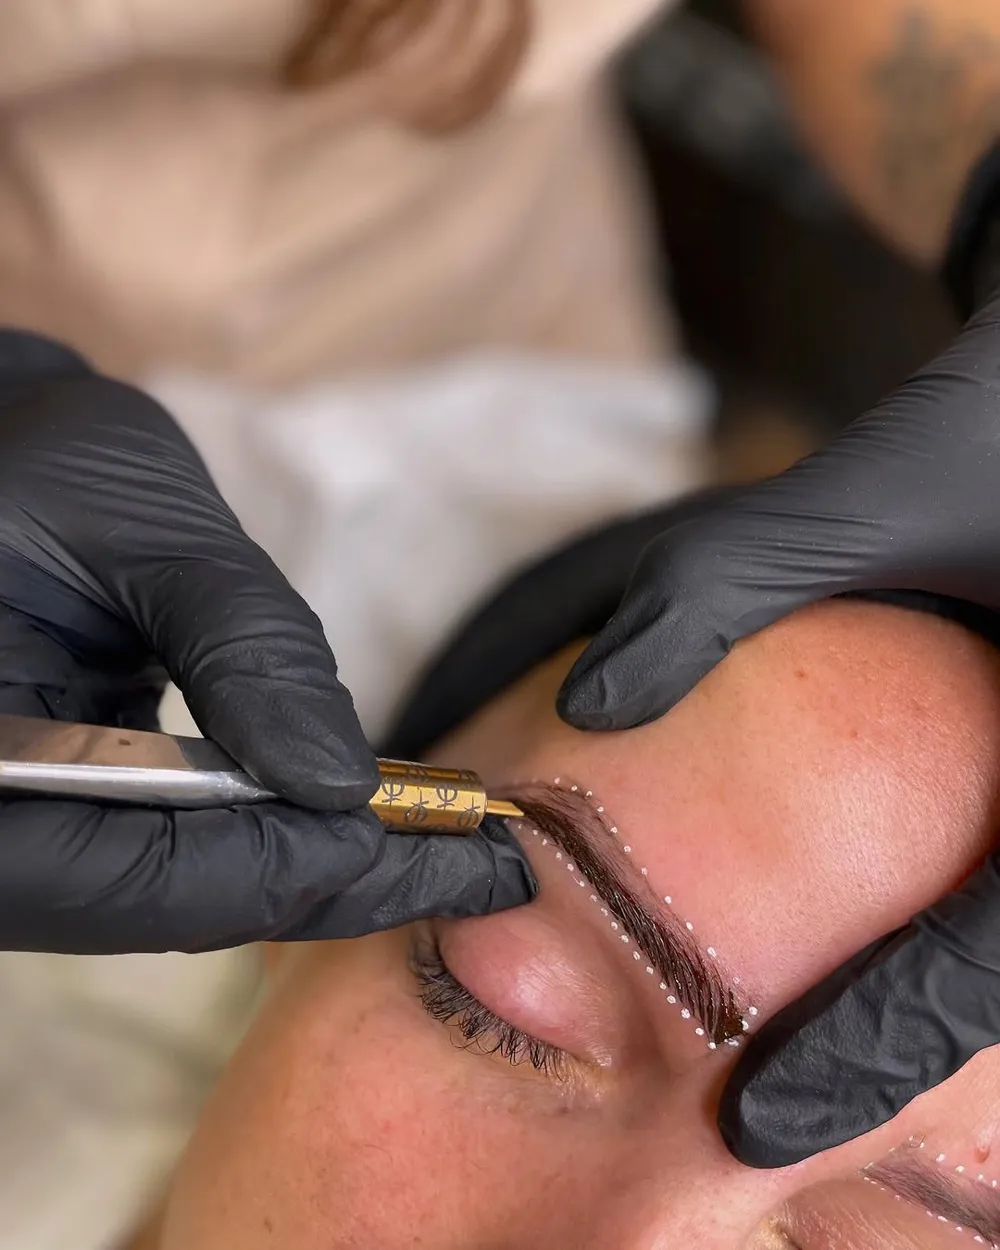
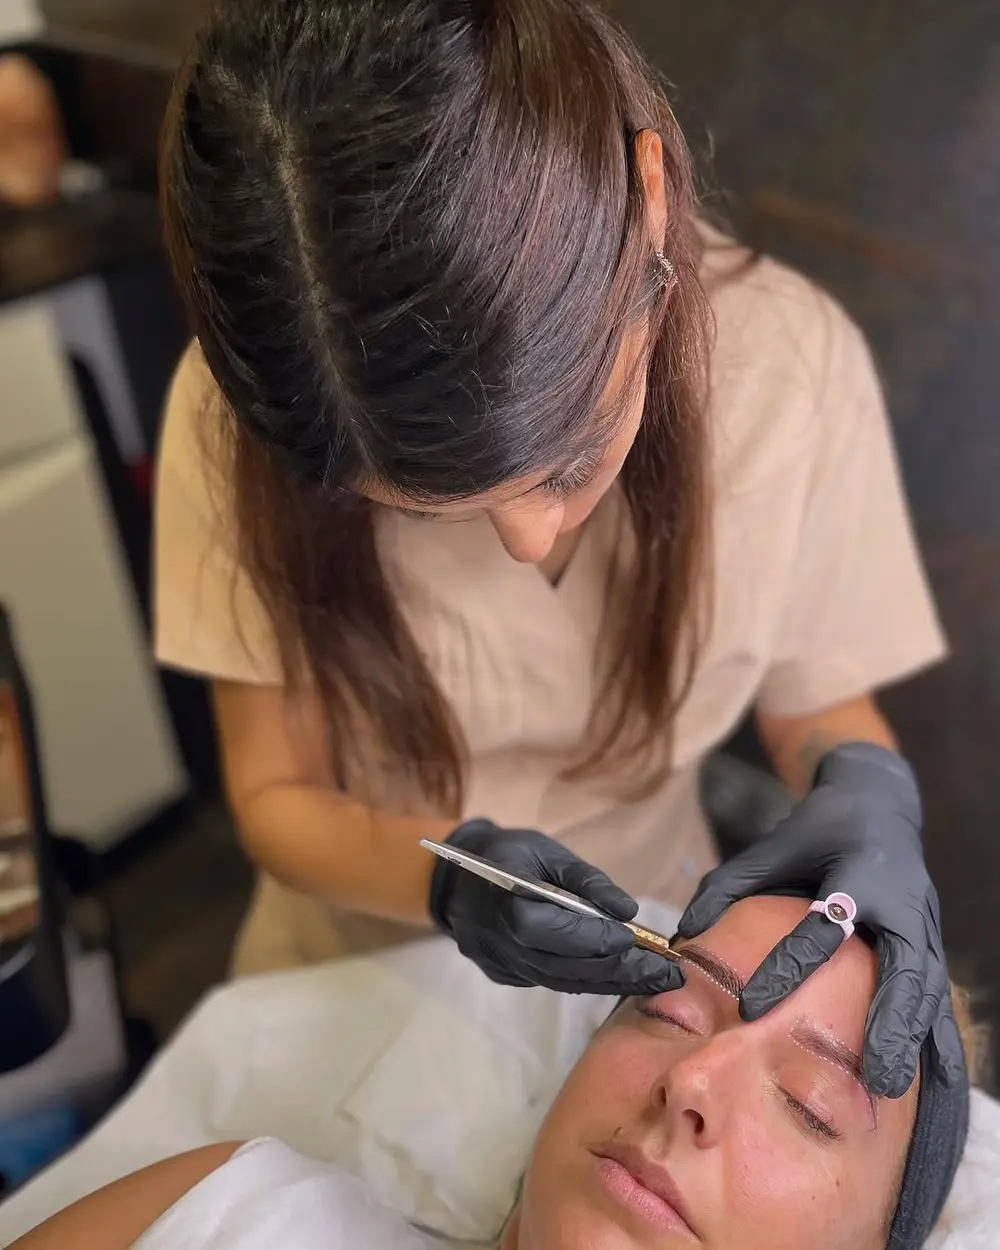
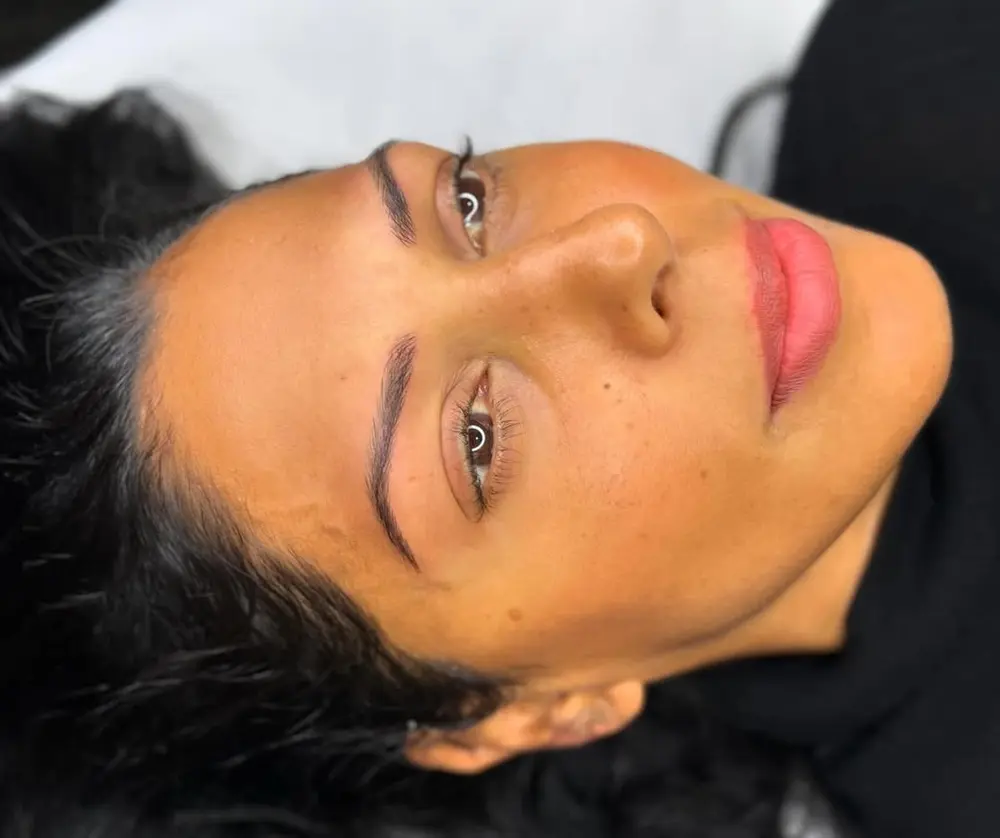
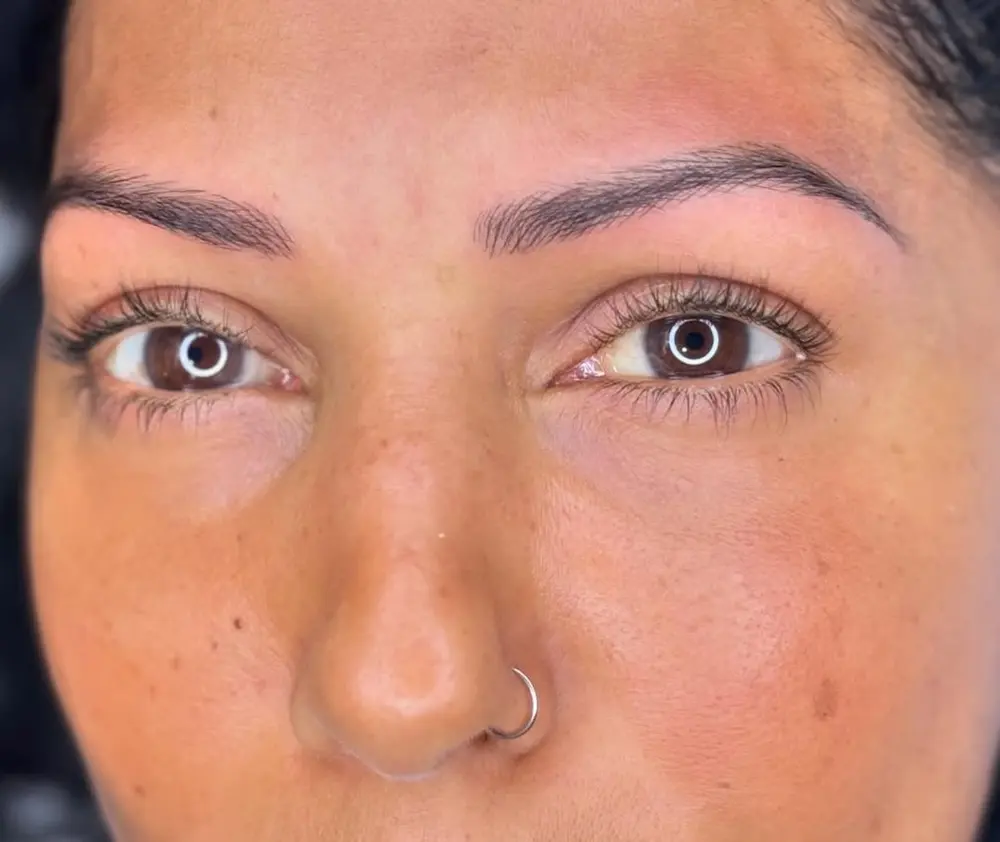
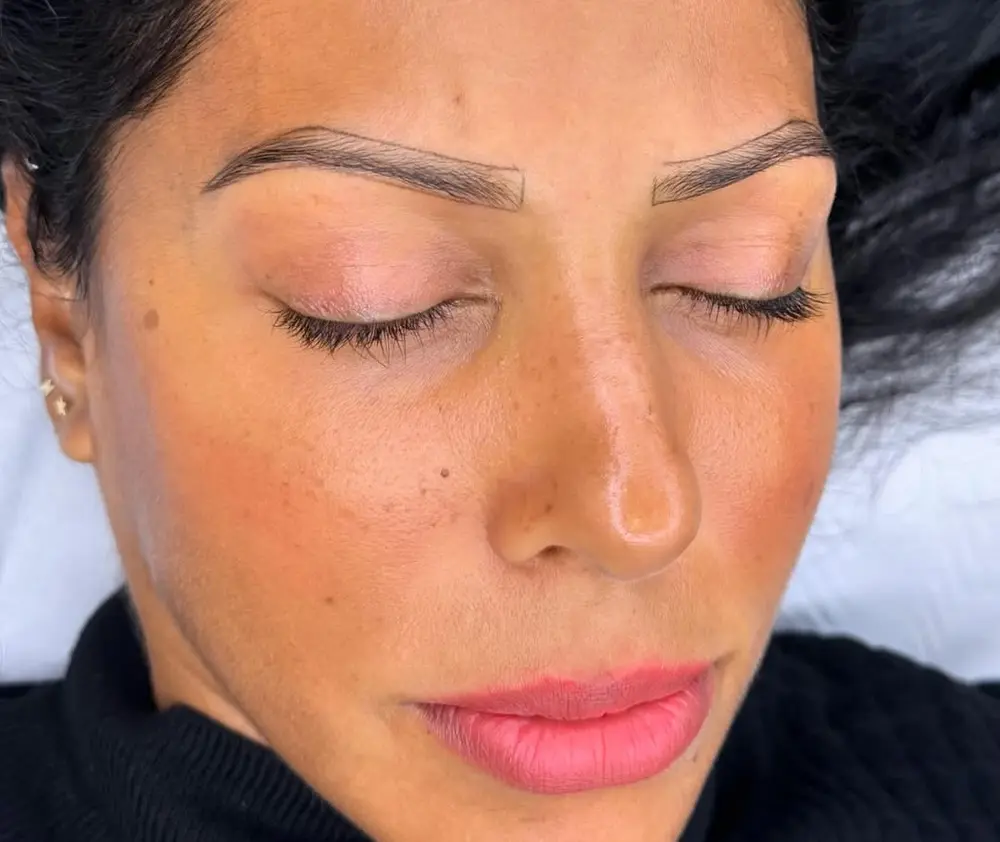
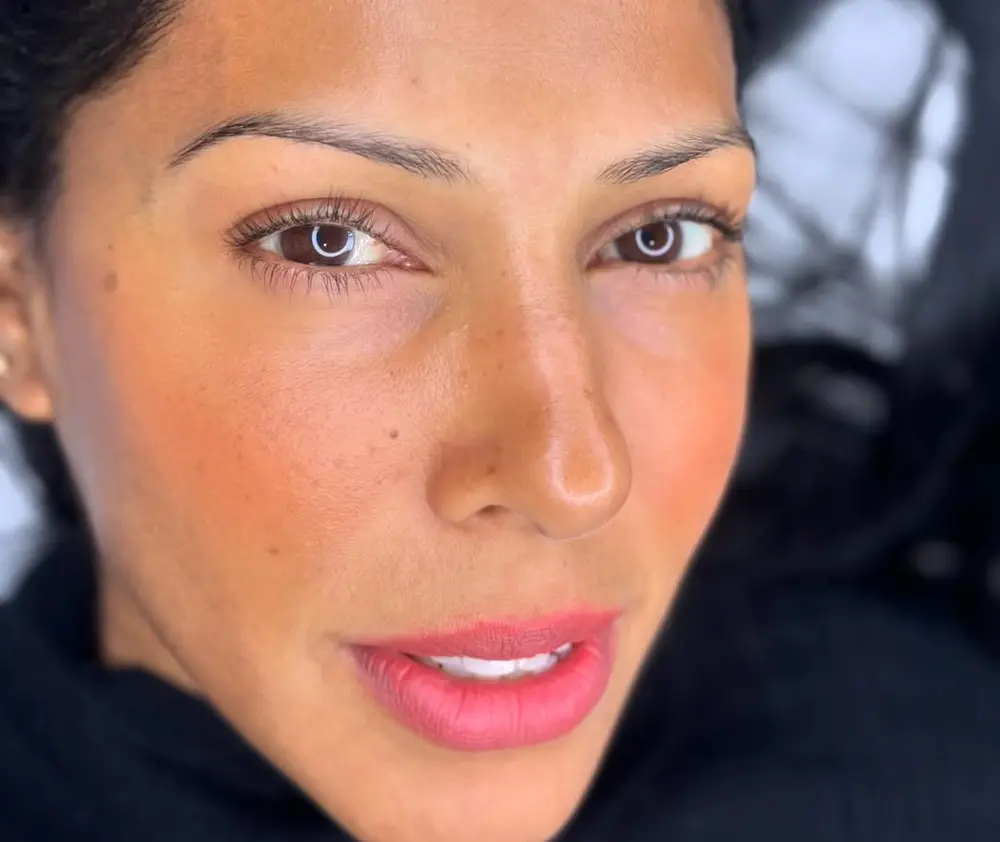
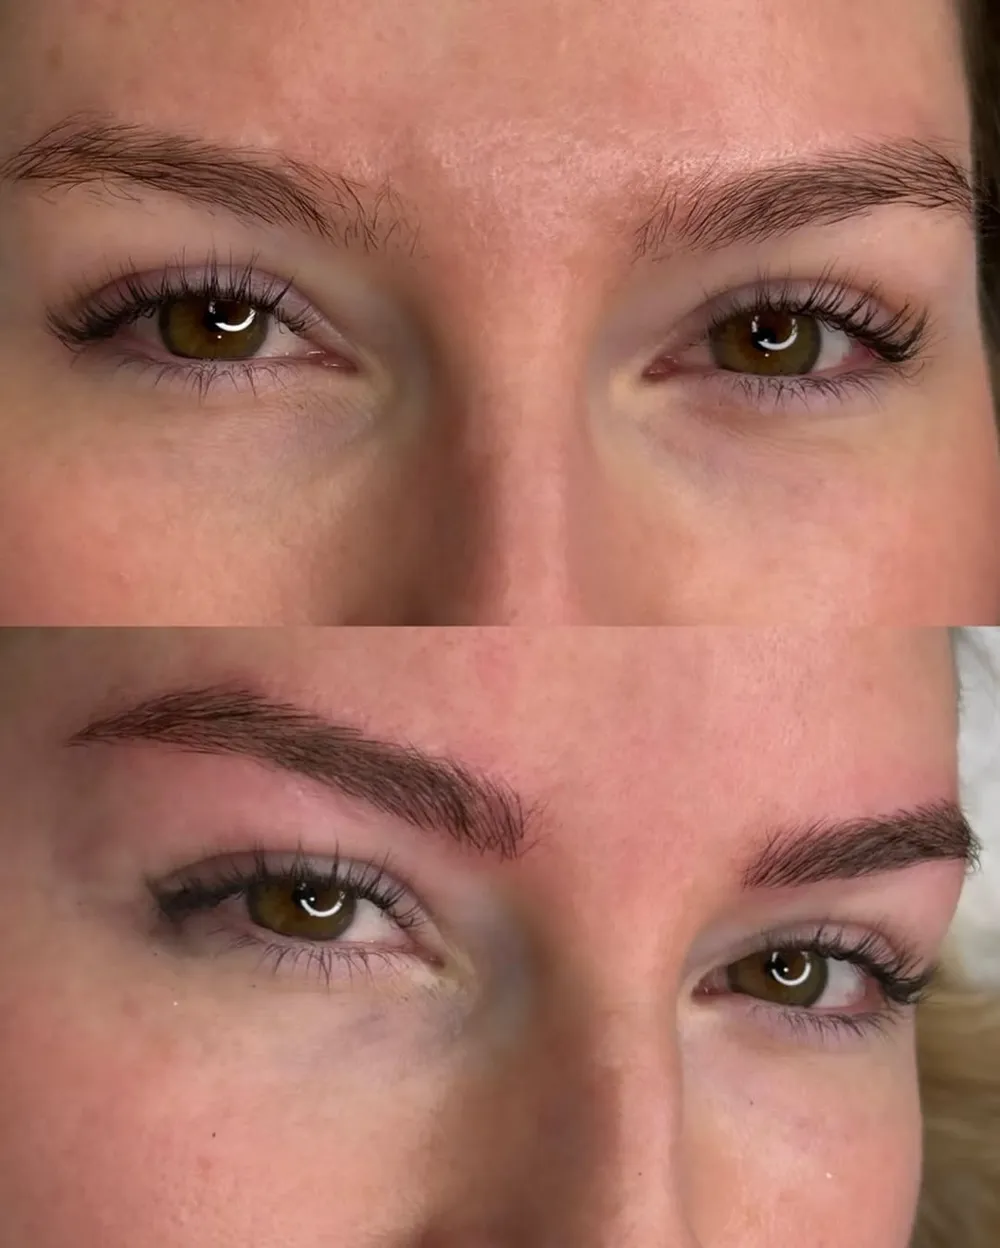
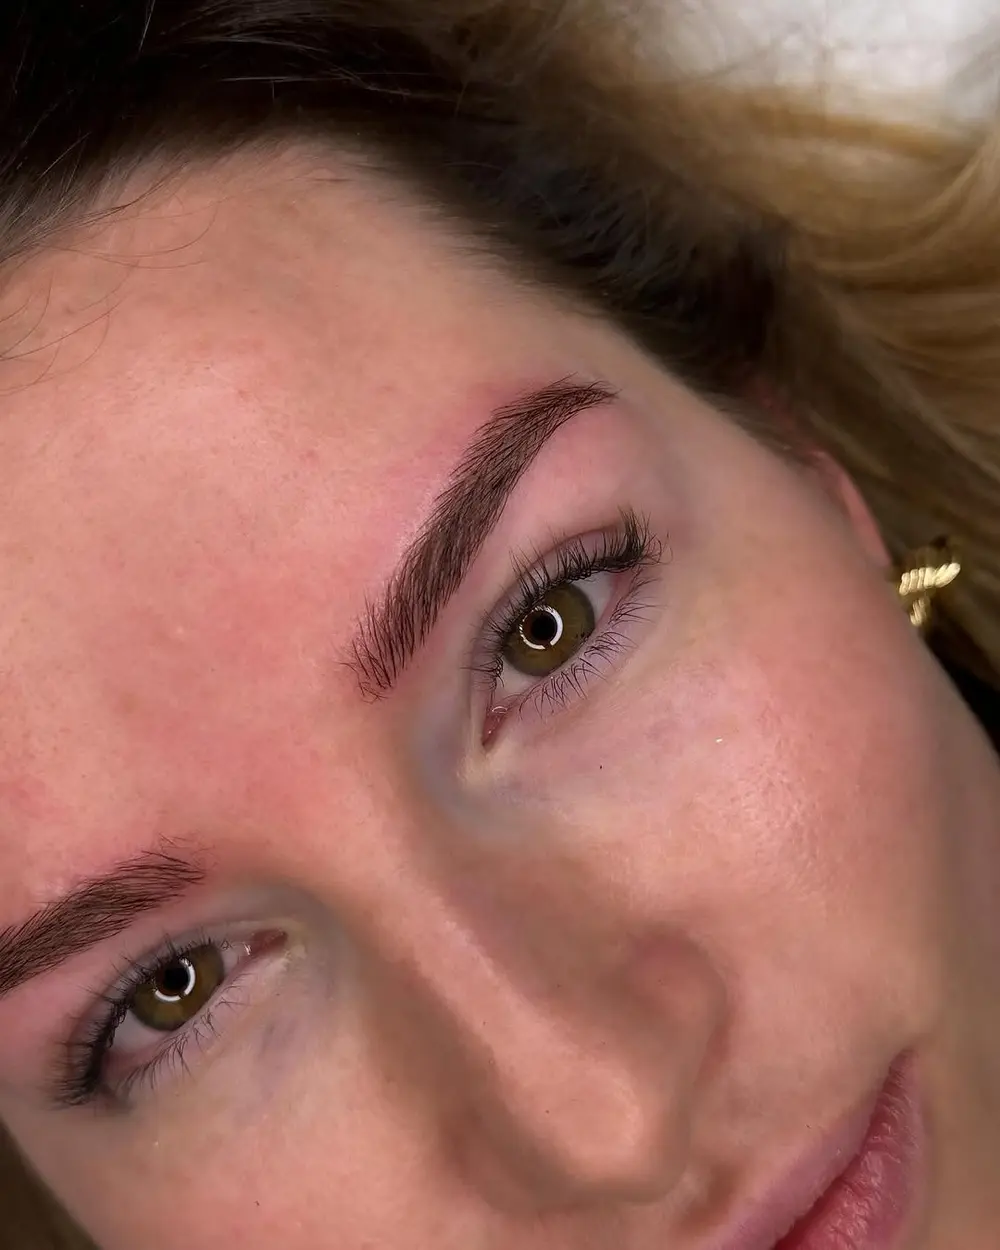
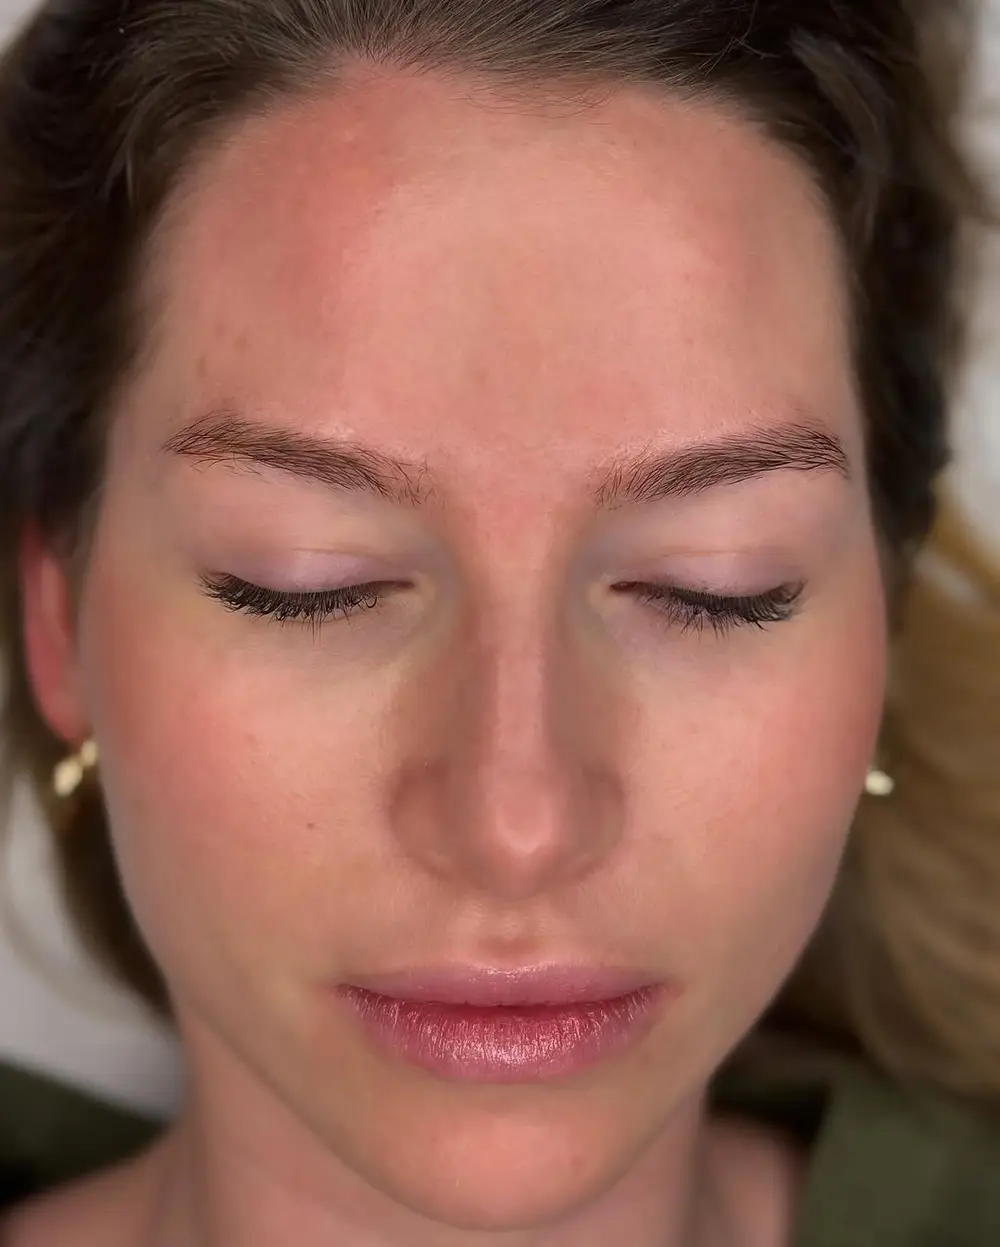
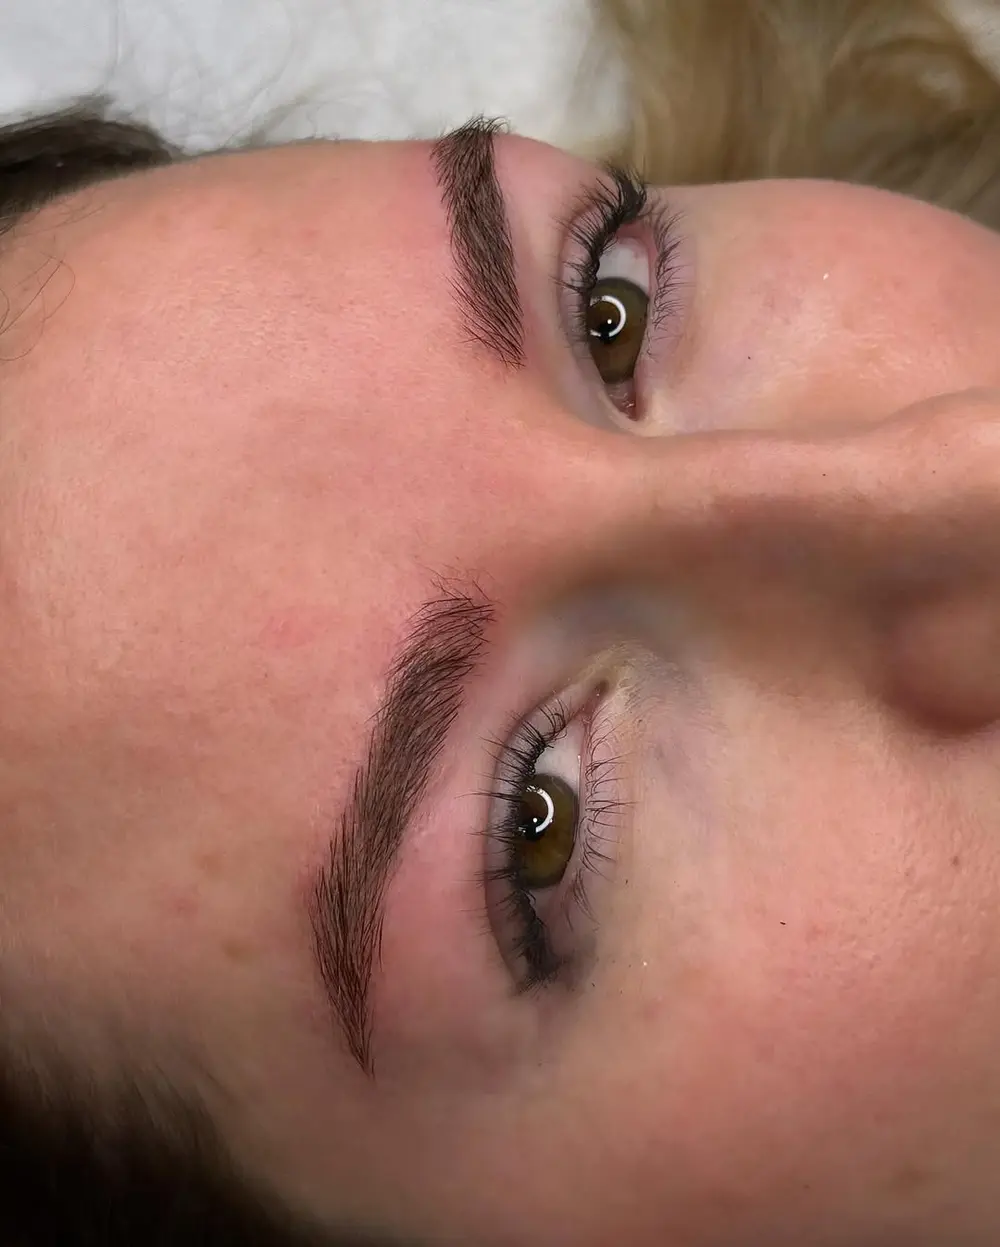
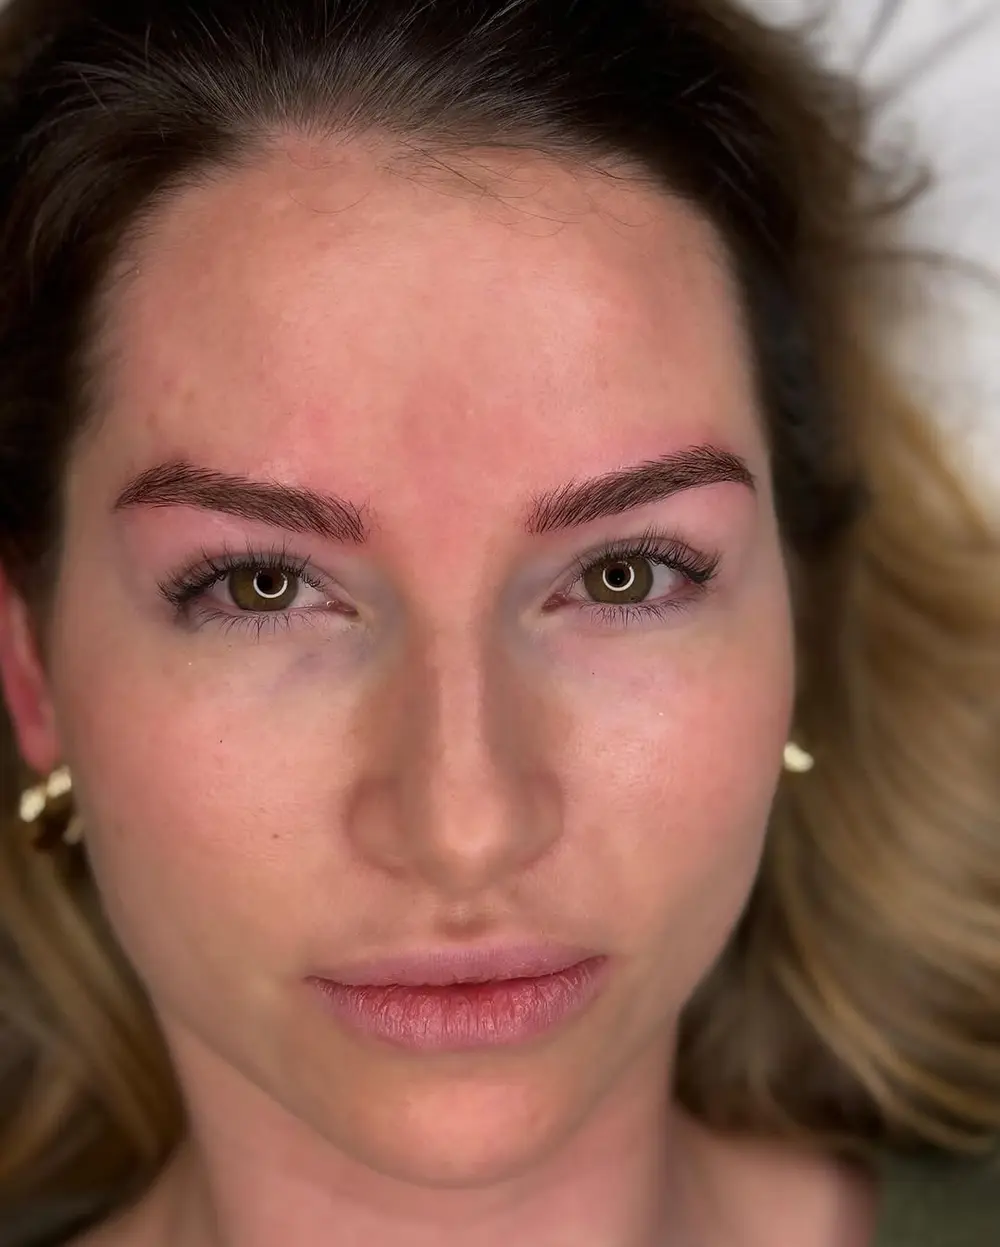
Microblading before and after gallery: real eyebrow transformation
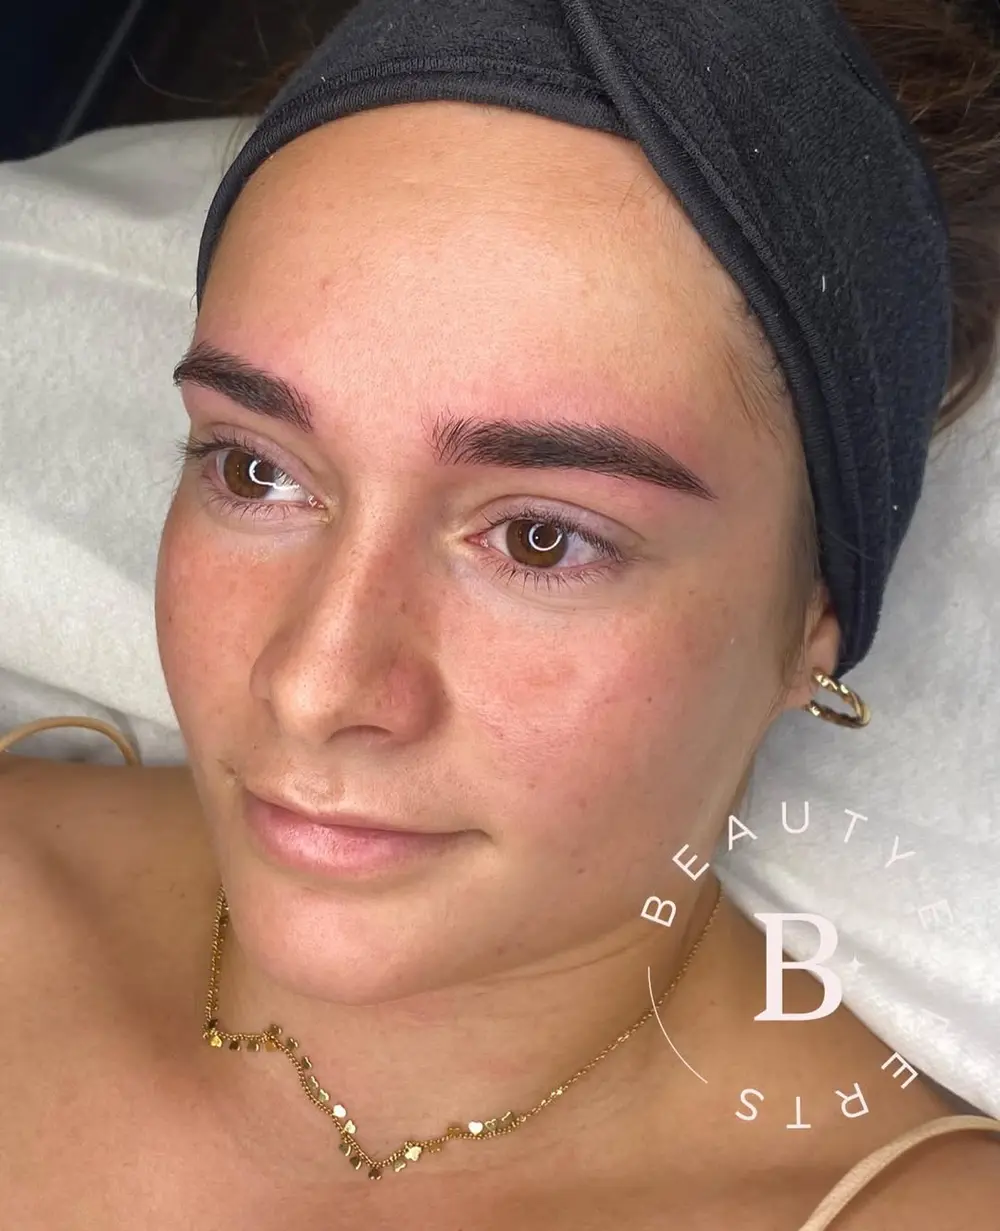
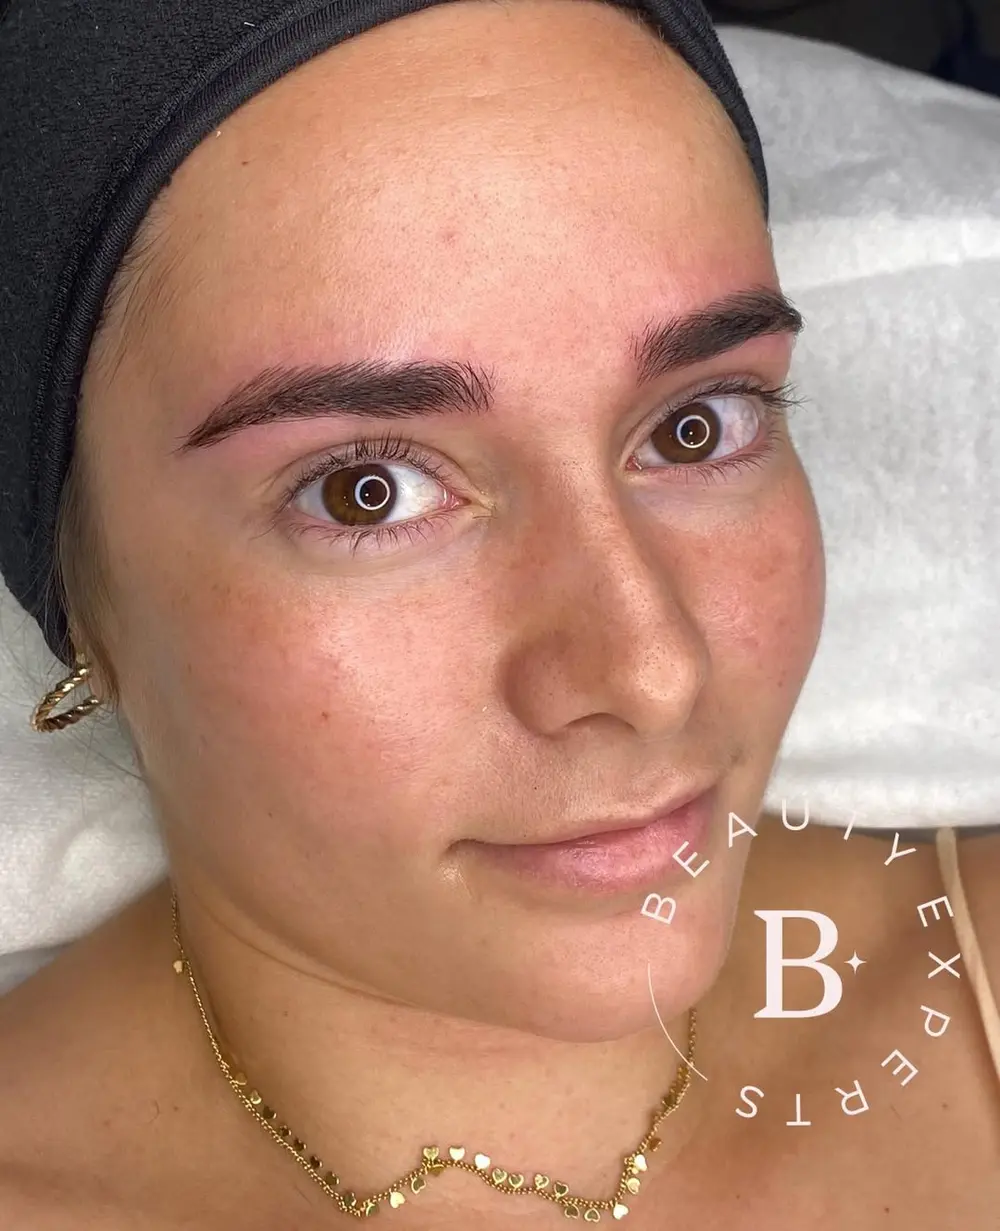
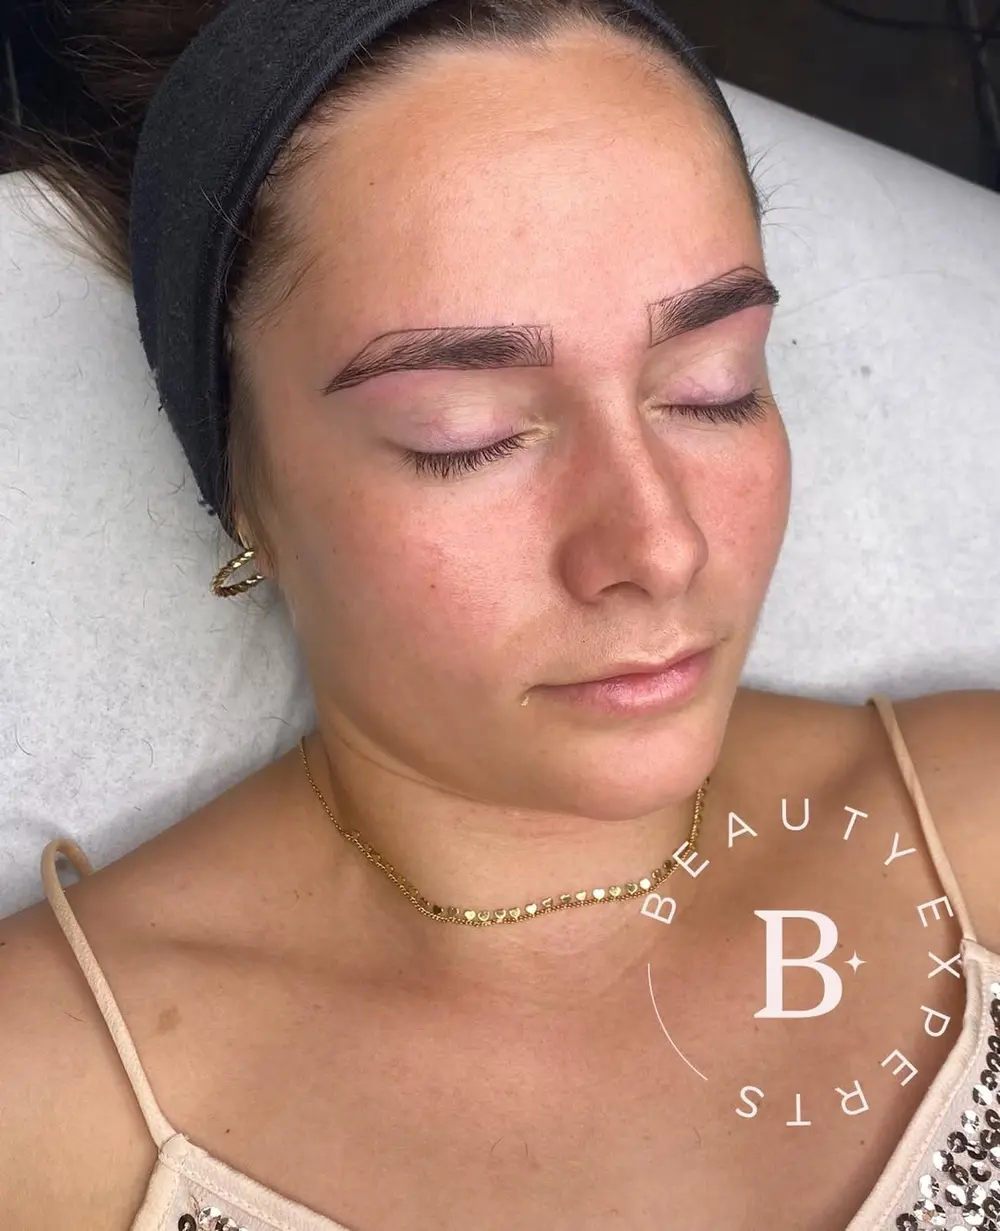
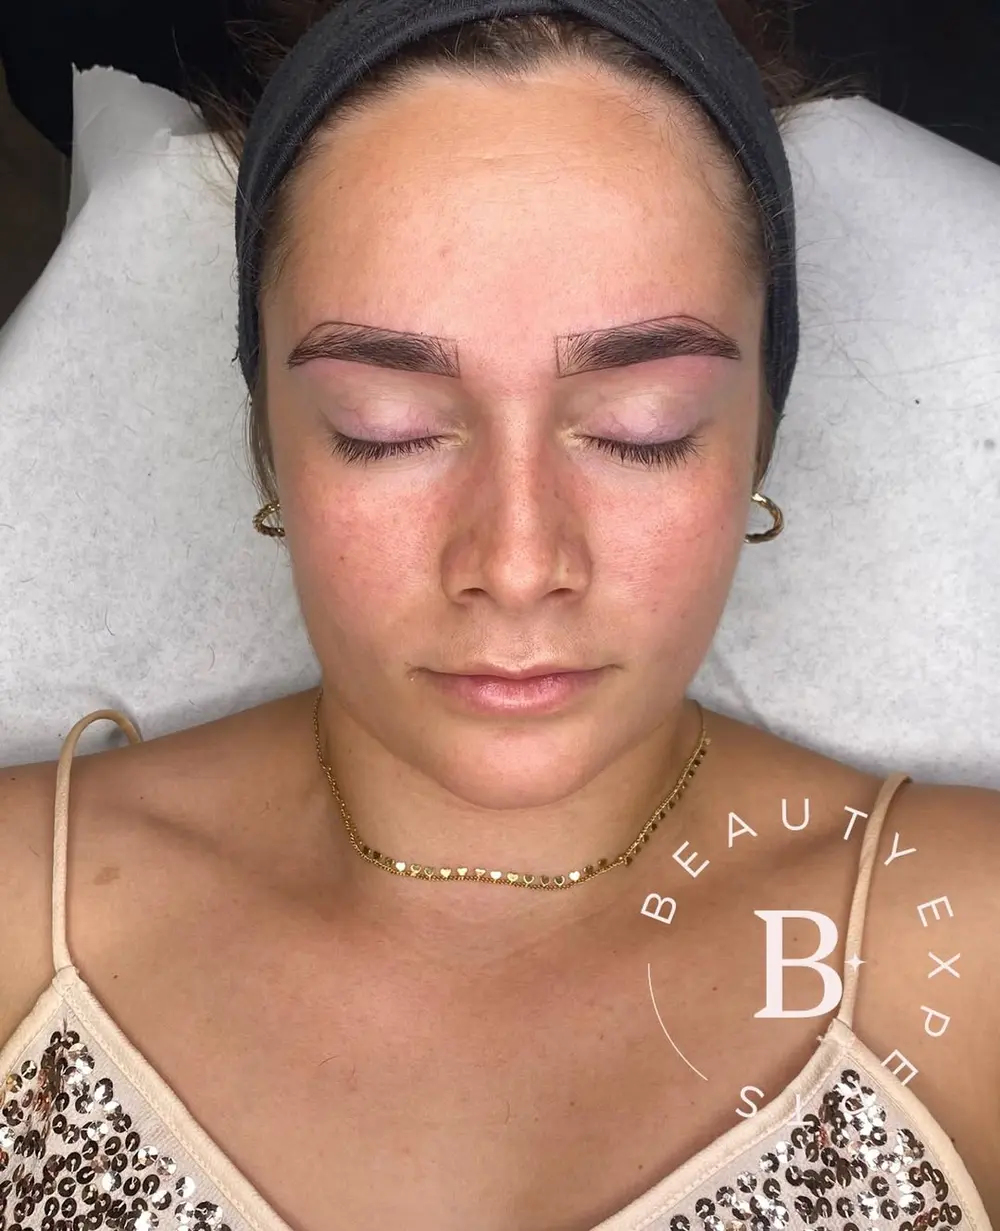
Every image in this gallery is work by Antonella at BLUSH Estética, also posted on our Instagram. We don’t use stock images or retouch the result: what you see is what the client takes home. Under each photo we tell you at which point in the process it was taken, because a day 1 brow is not the same as a healed one.
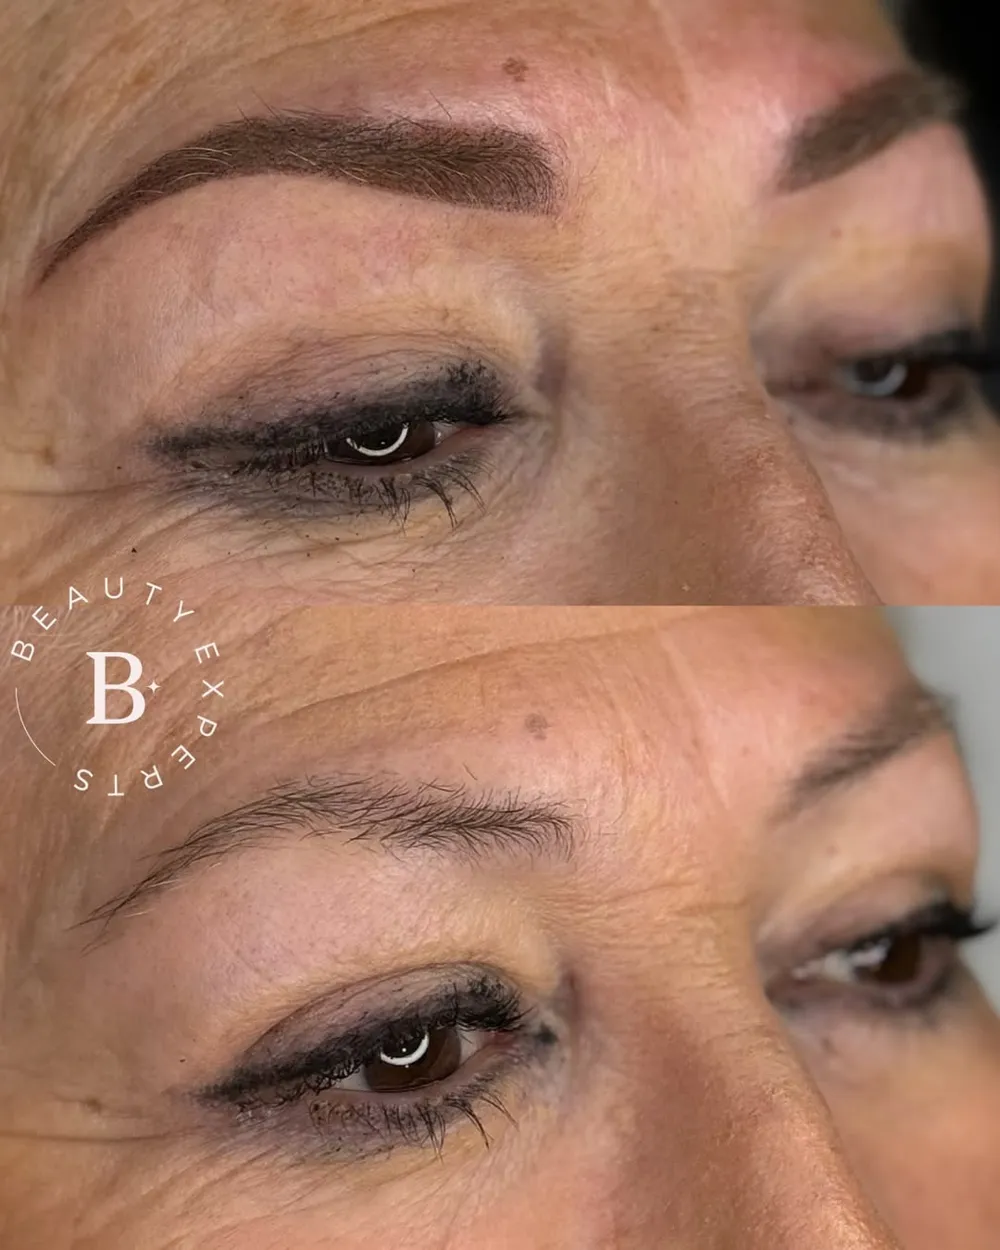
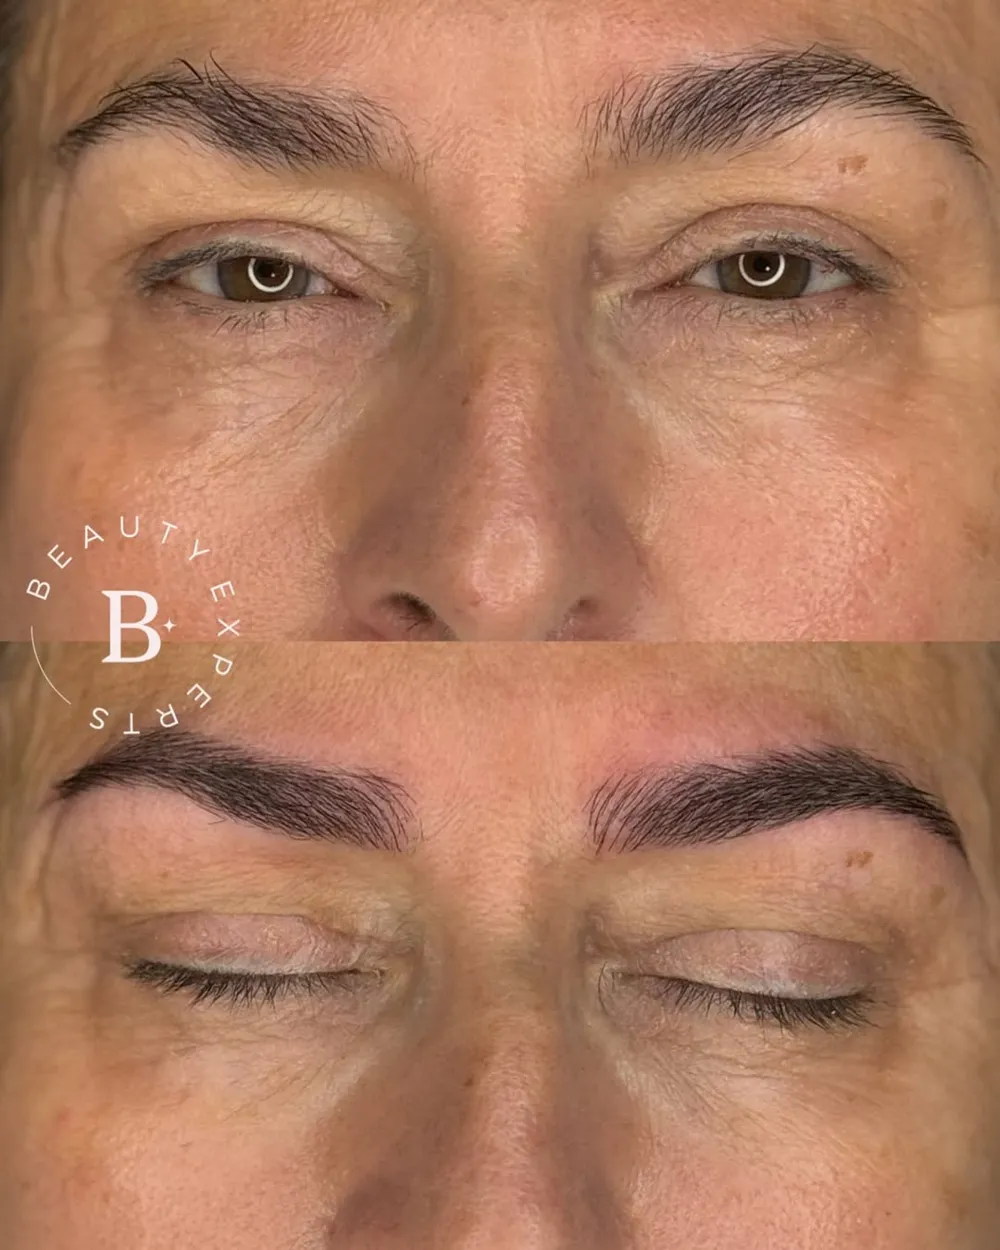
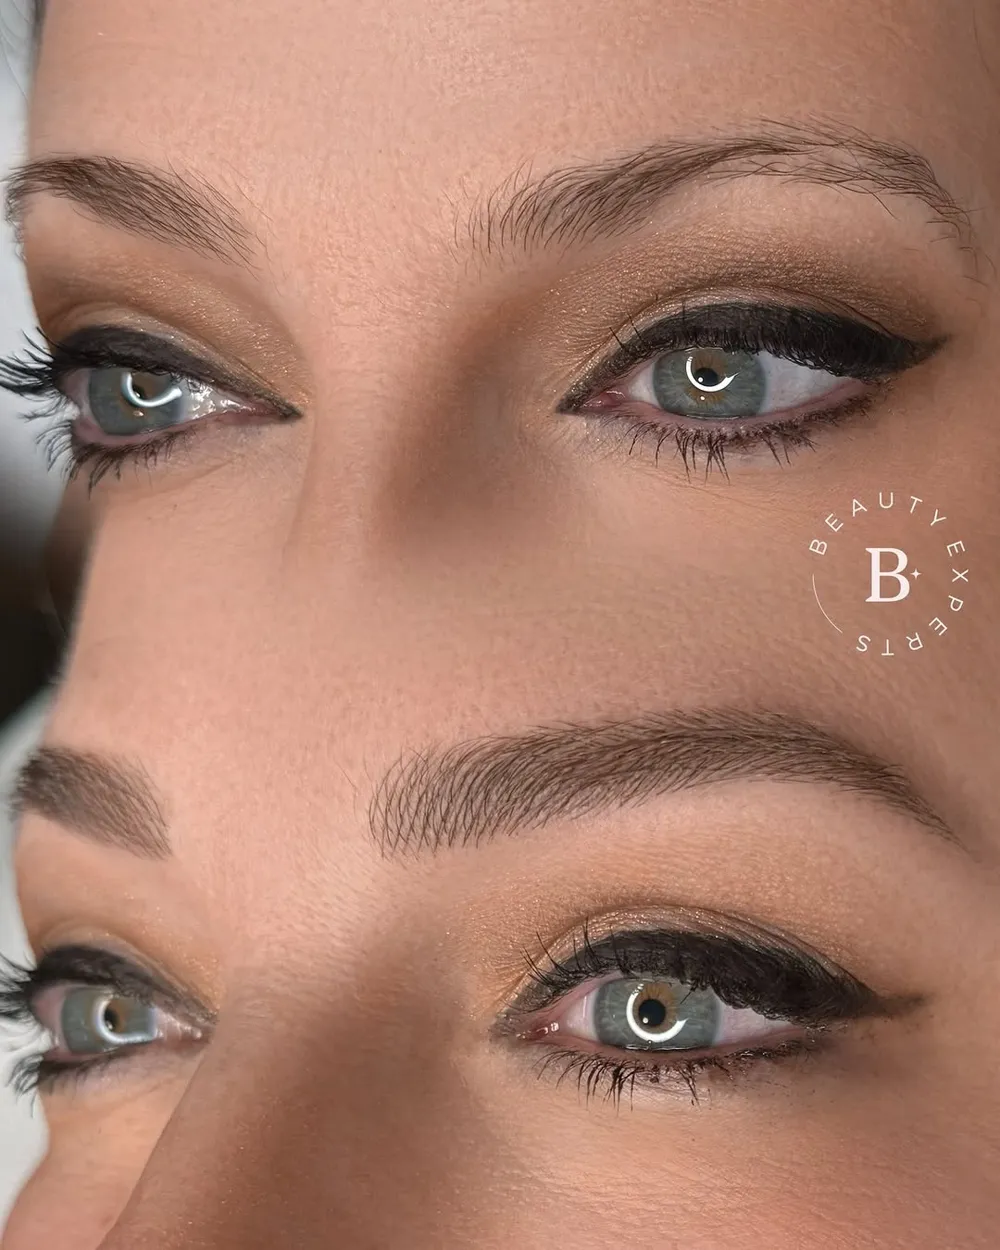
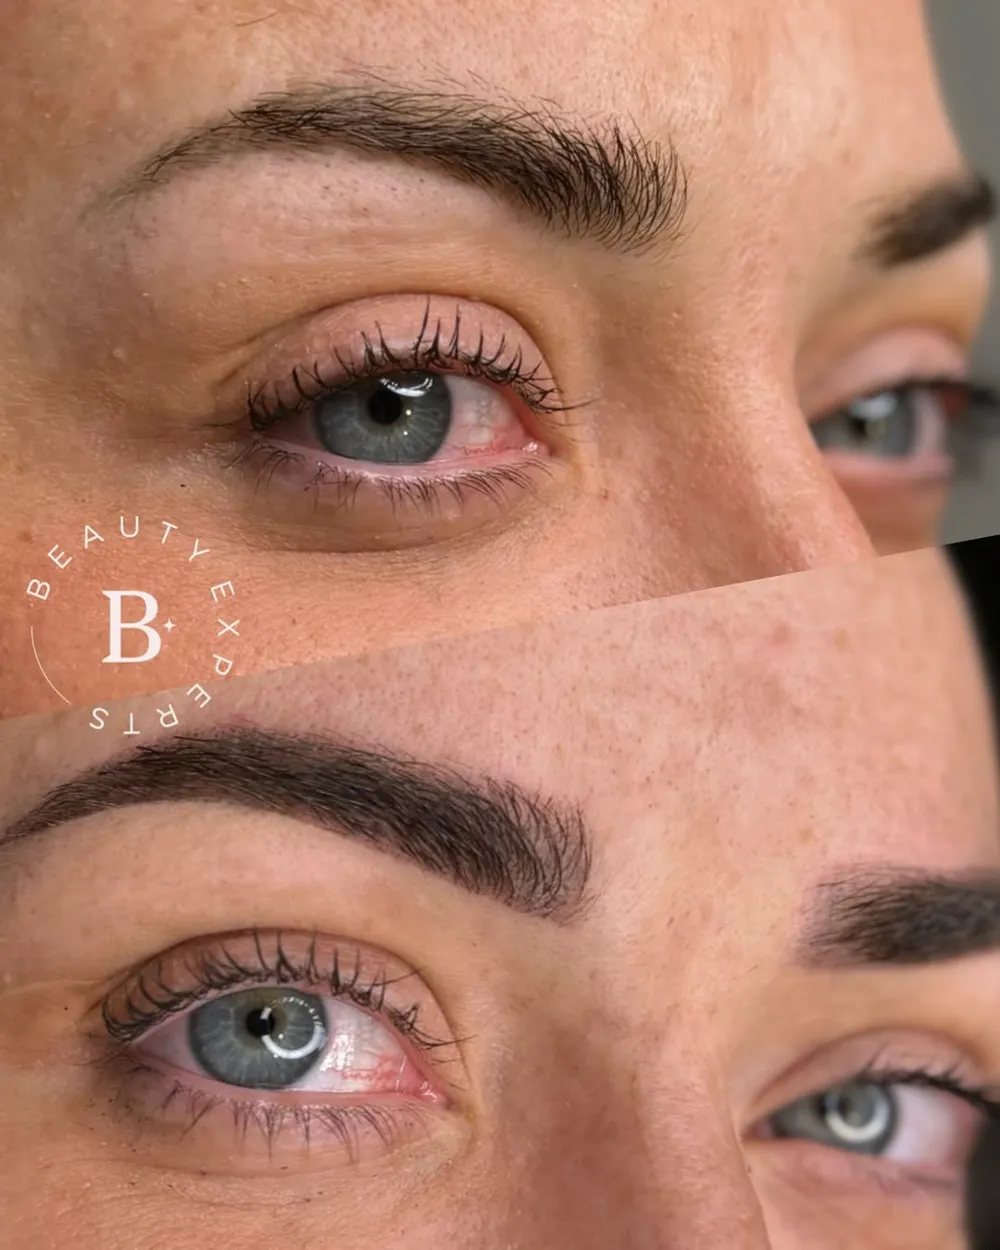
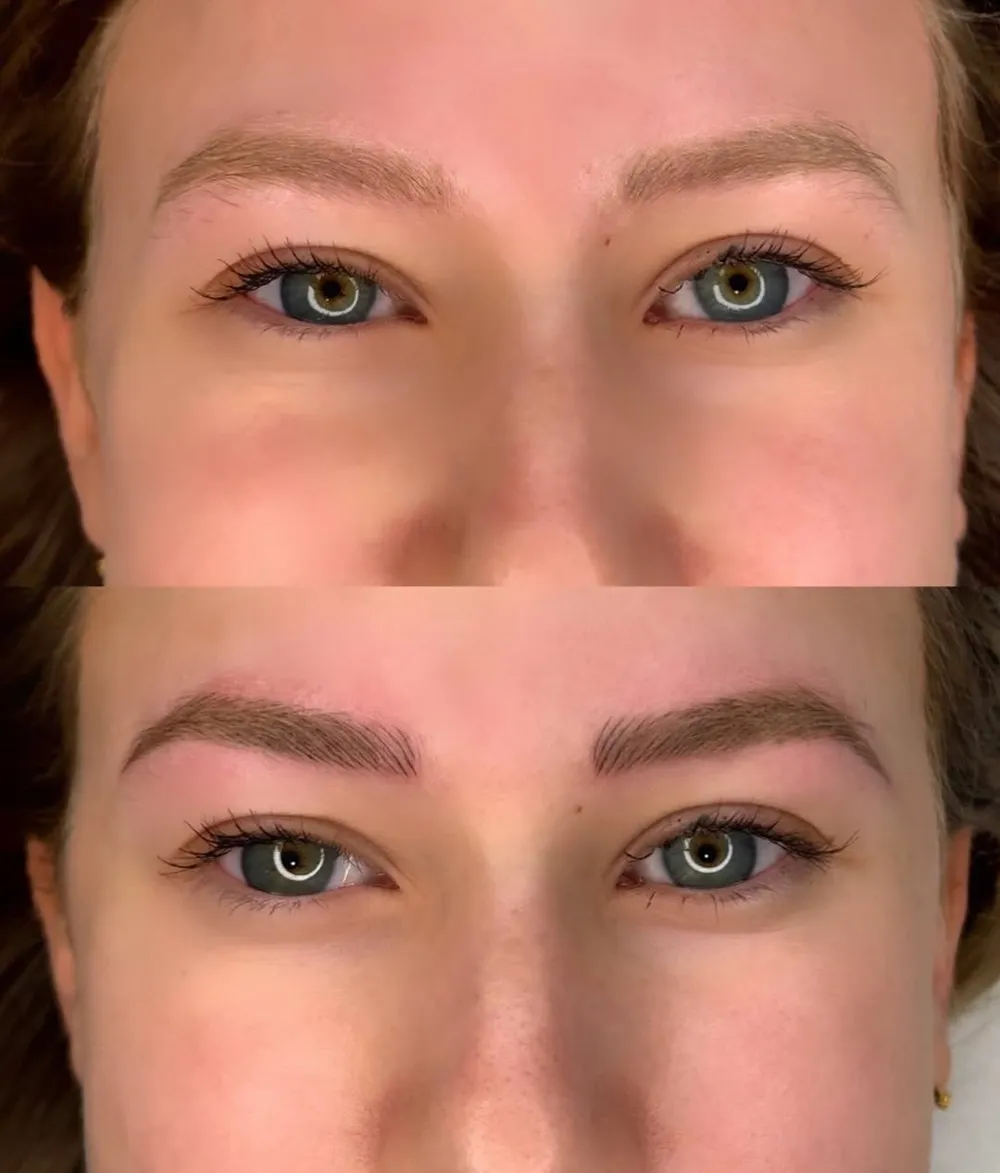
How to read a before and after photo without being fooled
Social media is full of microblading photos and not all of them tell the truth. Before getting your eyebrows done anywhere, check these details:
- Fresh or healed. A photo taken right after the microblading procedure shows the brow darker and sharper. The one that matters is the healed brow, from the fourth week: that is where you see the real colour and how each stroke blends in.
- Same light, same angle. If the before has yellow ceiling light and the after has a ring light, the comparison is worthless. Natural light is the honest test.
- No filter and no makeup. An Instagram filter smooths the skin and hides any flaw. Ask for unfiltered photos with no pencil or brow gel on top.
- Your skin type. On oilier skin hair strokes appear softer and more diffused; on dry or normal skin they stay crisper, and sensitive skin may show more redness at first. A good technician will assess your skin type at the consultation. Look for examples similar to yours.
Antonella’s tip: always ask your artist for photos of healed brows, not just freshly done ones. Anyone can get a pretty photo on day 1; the hard part is for the brow to still look beautiful after a month and after a year.
The microblading healing process, week by week: how brows heal
You don’t see the final result on the same day. The skin needs to heal and the pigment settles gradually. This is how it usually evolves:
- Day 1. Your brows will appear darker, thicker and with very defined edges. This is normal and not the final colour.
- First week. A thin scab forms and the area may itch. Don’t scratch or pick anything: each flake falls off on its own, and picking can cause pigment loss.
- Second and third week. Some strokes seem to have vanished and eyebrows may look patchy. This is when most clients panic, but the pigment is still there and the new skin will unveil it as skin turnover finishes.
- Fourth week. You can already see a result quite close to the final one: a softer colour and hair strokes that blend in.
- After the touch-up. At the touch-up appointment, 4 to 6 weeks later, we fill any patchy areas where the skin didn’t hold the pigment and make any necessary adjustments to the overall shape. This is the real «after».
For the detail of every phase, see our guide to the microblading healing stages, day by day.
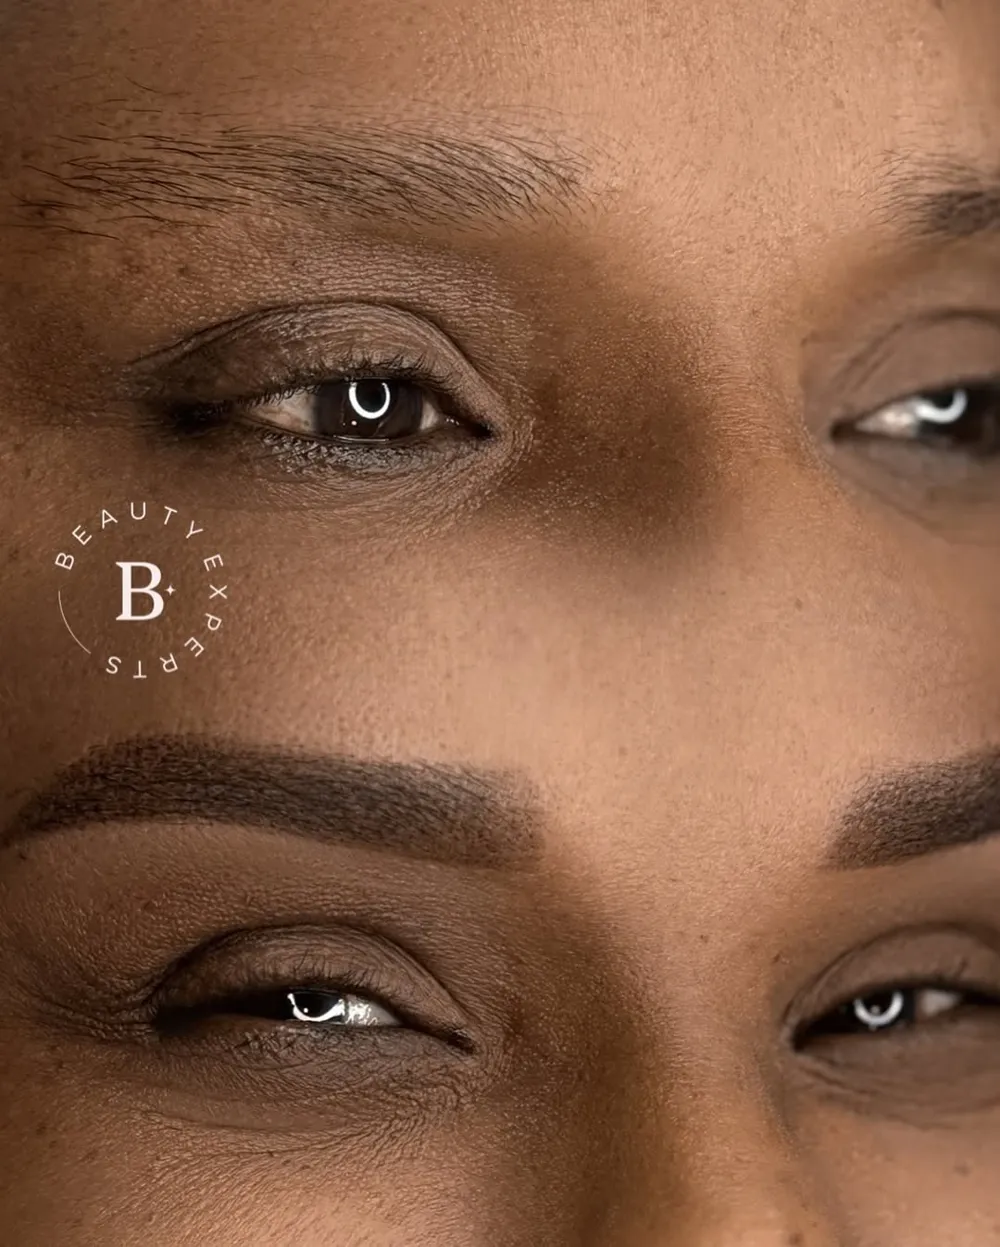
What makes microblading results look natural: aftercare and design
A natural look doesn’t depend on the artist’s hand alone. Three things matter:
A bespoke design
Before starting, Antonella measures your features and draws the brow design in pencil. We don’t use stencils: we look for a shape and color that suit your face and your natural brow hair.
Pigment colour
We choose the hue to match your hair and skin, usually a brown adapted to you. A pigment that is too dark is what makes brows look «tattooed»; the quality of the pigments used also decides whether you see colour changes, such as a reddish or grey tone, over the years.
A fine, well-directed stroke
Each stroke follows the direction of your own hairs. That way empty areas can be filled without anyone noticing where your brow ends and the microblading begins.
Following the aftercare instructions is a crucial part too, as it will help ensure the pigment settles evenly. When a brow has very little hair or the skin is oily, we sometimes recommend combining hair strokes with microshading. You can see how eyebrow pigmentation works and how it differs from eyebrow microblading.
Longevity: how long microbladed brows last
Microblading is semi-permanent: it uses pigment in the upper layer of skin, not tattoo ink. The result usually lasts 12 to 24 months, depending on your skin, sun exposure and skincare; on oily skin it can fade faster, and retinol or acid skincare products near the brow also lighten it. Daily sunscreen once healed makes a real difference. Over time the colour will soften gradually and the result will require a touch-up: the annual top-up brings back the definition. If you ever want to remove it, at BLUSH we also work with laser.
What clients say about their brows
“Feliz con mis nuevas cejas gracias a la técnica de Microblanding pelo a pelo. Tenía mucho complejo porque no tenía apenas cejas y siempre iban pintadas, lo cual era un problema porque en verano al bañarme estaba siempre preocupada que no se fuera el maquillaje. Apenas tenía cejas y gracias a Antonella y sus maravillosas manos tengo unas cejas nuevas y lo mejor de todo, super naturales.”
“Happy with my new brows thanks to the hair stroke microblading technique. I was very self-conscious because I hardly had any eyebrows and always had to draw them on, which was a problem in summer: whenever I went swimming I was worried the makeup would come off. I barely had brows, and thanks to Antonella and her wonderful hands I have new ones and, best of all, super natural.”
Tina A. · Google (translated from Spanish)
“He quedado encantadísima con el resultado del microblading. Desde el primer momento me hicieron sentir muy cómoda y me explicaron todo el proceso con mucha profesionalidad. El diseño de las cejas quedó súper natural y justo como yo quería, respetando la forma de mi rostro.”
“I am absolutely delighted with my microblading result. From the very first moment they made me feel very comfortable and explained the whole process very professionally. The brow design came out super natural and exactly how I wanted, respecting the shape of my face.”
Rita G. · Google (translated from Spanish)
“Me realicé Microblading de cejas efecto shading y Micropigmentación de labios en BLUSH con Antonella. Me encantan los resultados! Son muy naturales. Como es un tratamiento de larga duración estaba un poco nerviosa, pero Antonella se tomó mucho tiempo realizando el diseño e incorporando los cambios que le pedí.”
“I had shading-effect brows and lip permanent makeup at BLUSH with Antonella. I love the results! They are very natural. As it is a long-lasting treatment I was a bit nervous, but Antonella took a lot of time over the design and made the changes I asked for.”
Claire M. · Booksy (translated from Spanish)
There are many more on our microblading reviews page.
More before and after photos
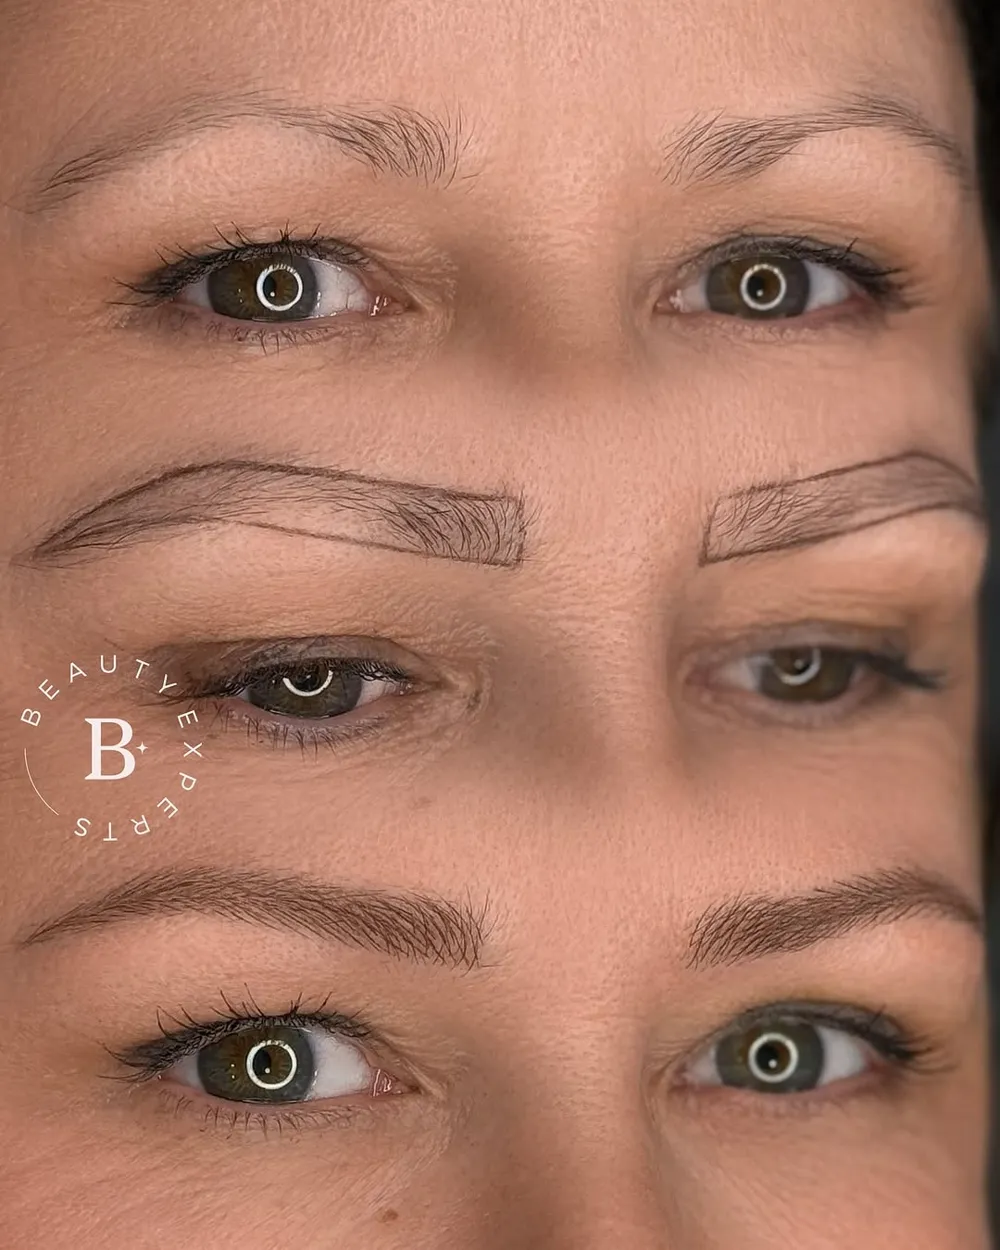
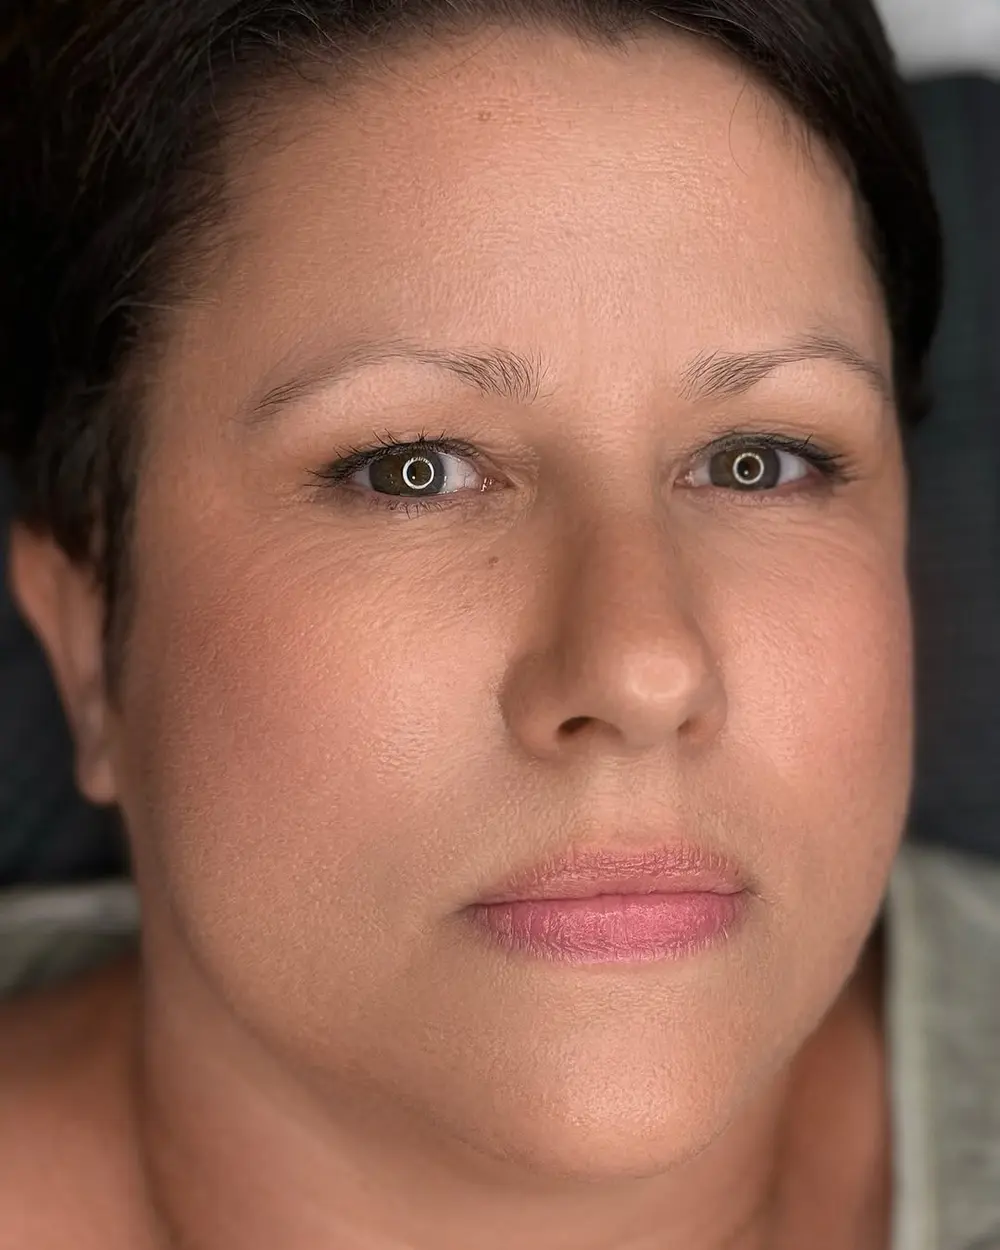
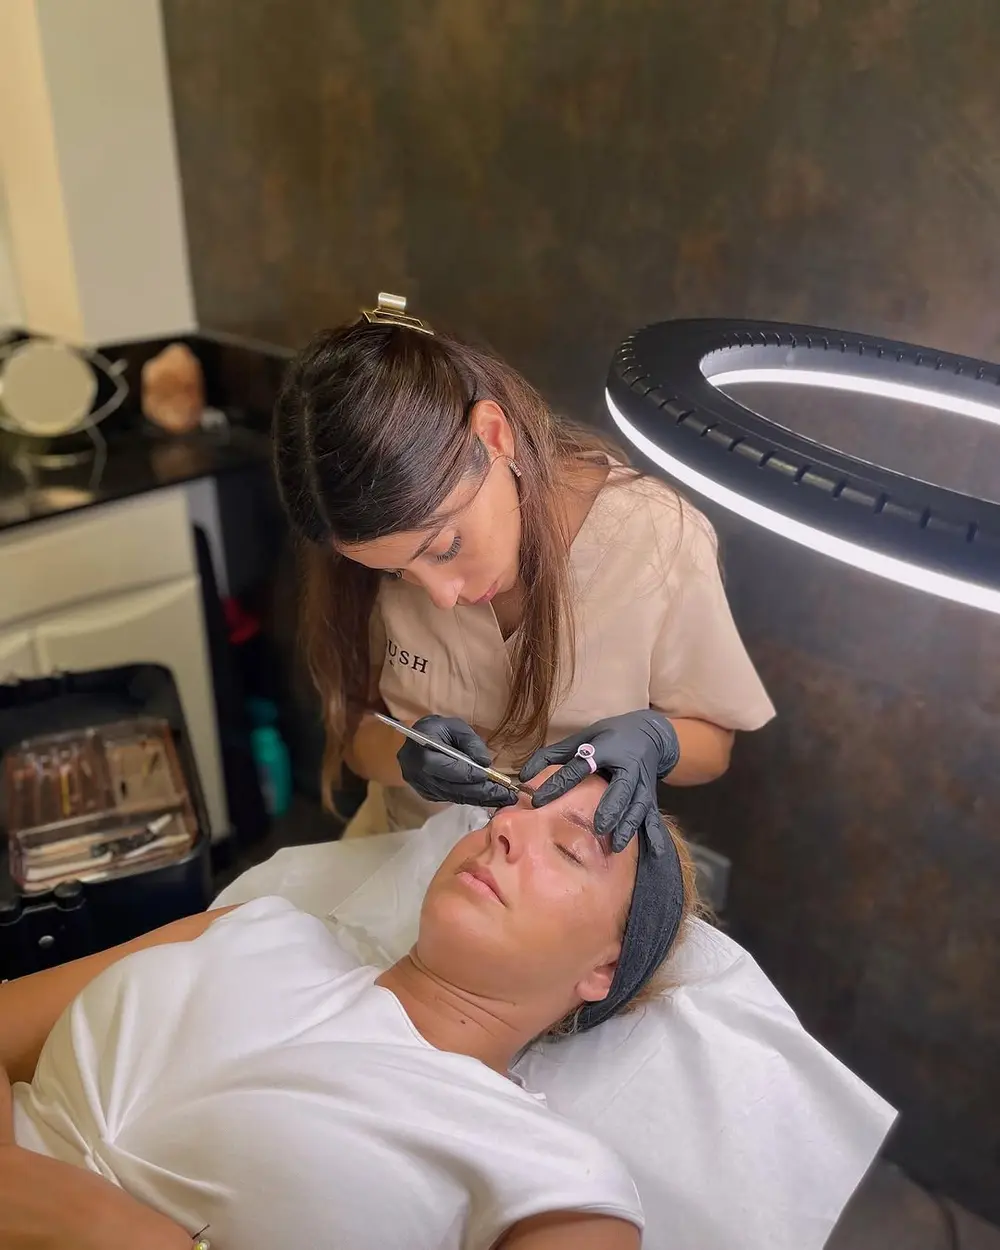
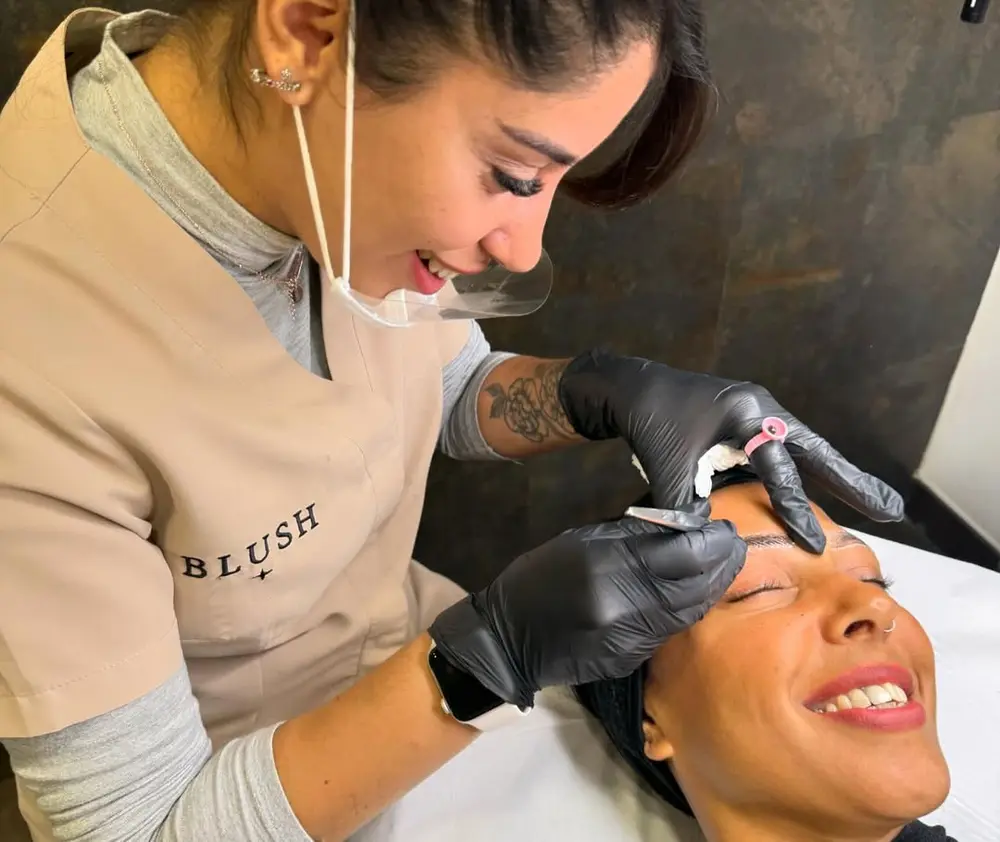
Real photos from @blush.esteticamalaga, no filters. Tap a photo to enlarge it.
Microblading before and after: frequently asked questions
What do eyebrows look like after microblading?
For the first few days they look darker and sharper. Once healed, from the fourth week, they are softer, with fine strokes that blend with your own hairs and no need for makeup.
When can I see the final result?
After the touch-up session, done 4 to 6 weeks after the first session. Until then the skin is still finishing healing.
Microblading or shading: which looks more natural?
Microblading hair strokes mimic hair better, so they usually look more natural on normal or dry skin. On oily skin or brows with very little hair, shading (ombre or powder brows) can last longer and gives a soft makeup finish.
Is microblading safe and effective?
Done at the right depth, by a trained artist and with good aftercare, yes, and it doesn’t leave scars. That is why it is important not to pick the scab or scratch while it heals.
Do eyebrows fade after microblading?
Yes, gradually. It takes a few weeks of aftercare, the colour softens over time and needs periodic touch-ups every 1-2 years. On very oily skin the strokes can blur sooner. We explain everything at the consultation.
Want to see how your brows could look?
Come to BLUSH Estética at C. Constancia 23, Málaga, near María Zambrano station, and Antonella will draw a design for you before you decide anything. We can help you in English via WhatsApp. Find out everything about our microblading in Málaga or message us directly.